
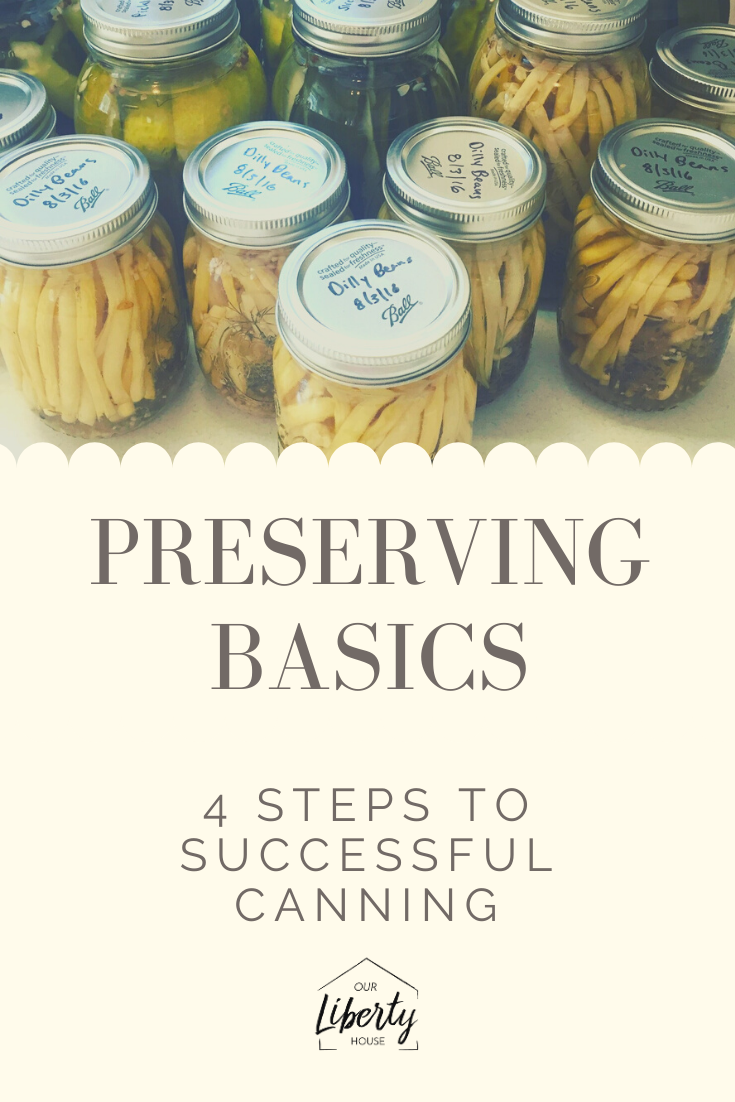
Preserving Basics - 4 Steps to Successful Canning
Everybody do the Can-Can

Spicy PIckled Carrots are one of our favorite pickled snacks!
Preserving and canning your own food is arguably the most intimidating project for a gardener and home cook. It is the number one topic I get questioned about from friends who try our homemade goodies. I am here to tell you that it does not involve any sort or wizardry or witchcraft, it’s honestly as simple as following any recipe you would for a normal dinner.
The art of canning and preserving has greatly decreased in popularity over the last 30 or so years due to the rise of the industrial food system. Few of us are lucky enough to have “Grandma’s Pickle Recipe” but don’t be afraid, with the advent of the internet we can all learn to bring back this great tradition.
I got into canning about 5 years ago when we had an absolute bumper crop of cucumbers (We found out 8 vertically grown cucumber plants is far far too many for a household of two). And when you get a great harvest you want to learn how to preserve these goods for as long as possible! Canning is a great way to do so and we are here to tell you how easy it truly is.
Please note, this post is not intended to be an all-inclusive guide to great canning prowess, but more of an introduction to the basics and give you the confidence to give it a shot. You will also notice we use preserving and canning interchangeably but are referring to the same thing.
ONE. What is Canning?
There are two basic types of canning, Water Bath Canning and Pressure Canning.
What’s the difference?
Broken down simply, water bath canning is for high acid foods (like jelly and jams) or anything you add salt and vinegar to (for example, pickles or yummy spicy carrots). Pressure canning involves preserving any non-acidic foods utilizing high heat/pressure to sterilize bacteria for long term storage (canned green beans, beets or meat stocks). Check out our tutorial on how to use a pressure canner here in our article on How to Can Stock.
To water bath can you don’t need any fancy tools, just a large stock pot with a canning rack (so the cans are not touching the bottom of the pot) and big enough that can hold enough water to cover your pint or quart size jars with water. If you want to pressure can, you will need to purchase a pressure canner.
Personally, we chose to buy a dual option canner to give us the most variability in options. The Presto – Pressure Canner and Cooker allows you to water bath can, pressure can, as well as pressure cook (old school - pre Instapot craze). If you have no interest in pressure canning, you can purchase a basic water bath canner.


TWO. Buy a Book!
Most people have grown custom to using their phone and internet to find recipes, maybe even read this amazing post, but there is something to be said about having a book laid on in the kitchen while following a step-by-step canning process.
If you want to be a pro.. finish reading this post and then order a basic how-to book as a reference. I bought the Ball Guide to Preserving for $10 from the local Ace Hardware. These books are a great resource as they include everything from: canning times to different recipes to great techniques. You by no means have to follow every recipe word for word, but instead start with an outline and adjust to your personal preference for flavor. However, I would advise not to stray from recommended amounts of salt, vinegar, or added acid (for example: lemon juice). This is a crucial safety measure in the practice of canning to prevent production of bacteria, specifically botulinum toxin. Don’t let this scare you off though, humankind has been safely preserving food for ages.

Three. Buy the Accessories
Learn from my newbie mistake, I would 100% recommend you buy at a minimum a jar filler and a jar lifter.
Pulling boiling hot quart jars full of pickles and vinegar out of a pot with kitchen tongs is a terrifying and dangerous task. I would be lying to you if I didn’t break more than one jar before breaking down and buying the proper utensils.
Some other accessories you might consider buying is pre-made pickling spices, but make sure you read the ingredients on the jar to ensure there isn’t any ingredients you might not appreciate in your finished product. I made the mistake of not checking and had spicy dills with a hint of cinnamon that I did not want.
FOUR. Just Do It!
If you have ever had the itch to try preserving your own food, you honestly just have to go for it! It’s a rewarding and fun adventure with the added bonus of delicious treats at the end. Start simple and expand from there and know that not everything you make in the beginning will turn out to be amazing. My very first batch of pickles was so salty that they could’ve seconded as a mineral lick for a small herd of cattle. Never fear though, a salty dill pickle pairs amazingly with an ice-cold beer. That being said, we adjusted (I paid more attention to measurements) and we have successfully canned more food than we really knew what to do with.
Canned goods make great gifts and nice gestures for friends and family. If you don’t have a huge garden or the green thumb, we all desire, you should hit up your local farmers market to source some locally grown fresh ingredients to try and recreate your favorite recipe.

Pro-Tips to Canning Success
Measure, Measure, Measure. This is crucially important when it comes to salt/vinegar/water ratios. Altering these measurements can result in too strong or too weak flavors as well as subject your goods to spoiling.
Never eat a canned good that has a “popped seal.” When you pull a jar from the pantry after canning be sure to check that the lid is still depressed. This is easily done by pressing on the center of the lid. If it “pops” that jar has been compromised and should be disposed of.
Save time. When water bath canning, place your jars in the canner while filling with water to get the right displacement. When inserting full jars they will displace more water and you will end up boiling far too much water, wasting time and energy.
Never reuse lids. The canning lids are meant to be one time use and should be disposed of after you’ve eaten the prize inside. The rings and jars can be sterilized and reused. (If you ever get them back from the friends you’ve shared with – I know who you are and I still want them back)
Don’t be afraid to get creative! If you really like spicy food, add hotter peppers. Can’t get enough dill? Pile it in. Are you a garlic lover (we have a support group) Add more than the recommended garlic, two cloves are never enough. Or leave it out if you have some sort of sad affliction towards to world’s greatest addition to food.
Let your canned goods develop in the pantry for a minimum of two weeks if you’re looking to impart additional flavors. This is especially important with pickled vegetables. Cucumbers, carrots, and green beans will soak in the added ingredients such as garlic, dill, or spice the longer you allow them to sit in the jars.
Shoot us a message if you have any questions that you would like us to elaborate on. Going forward we will begin to include recipes of our canning projects. Look forward to everything from spicy carrots to homemade bone broth! Thanks for reading, go forth and start a tradition!
Lucas