How to Build a Compost Sifter
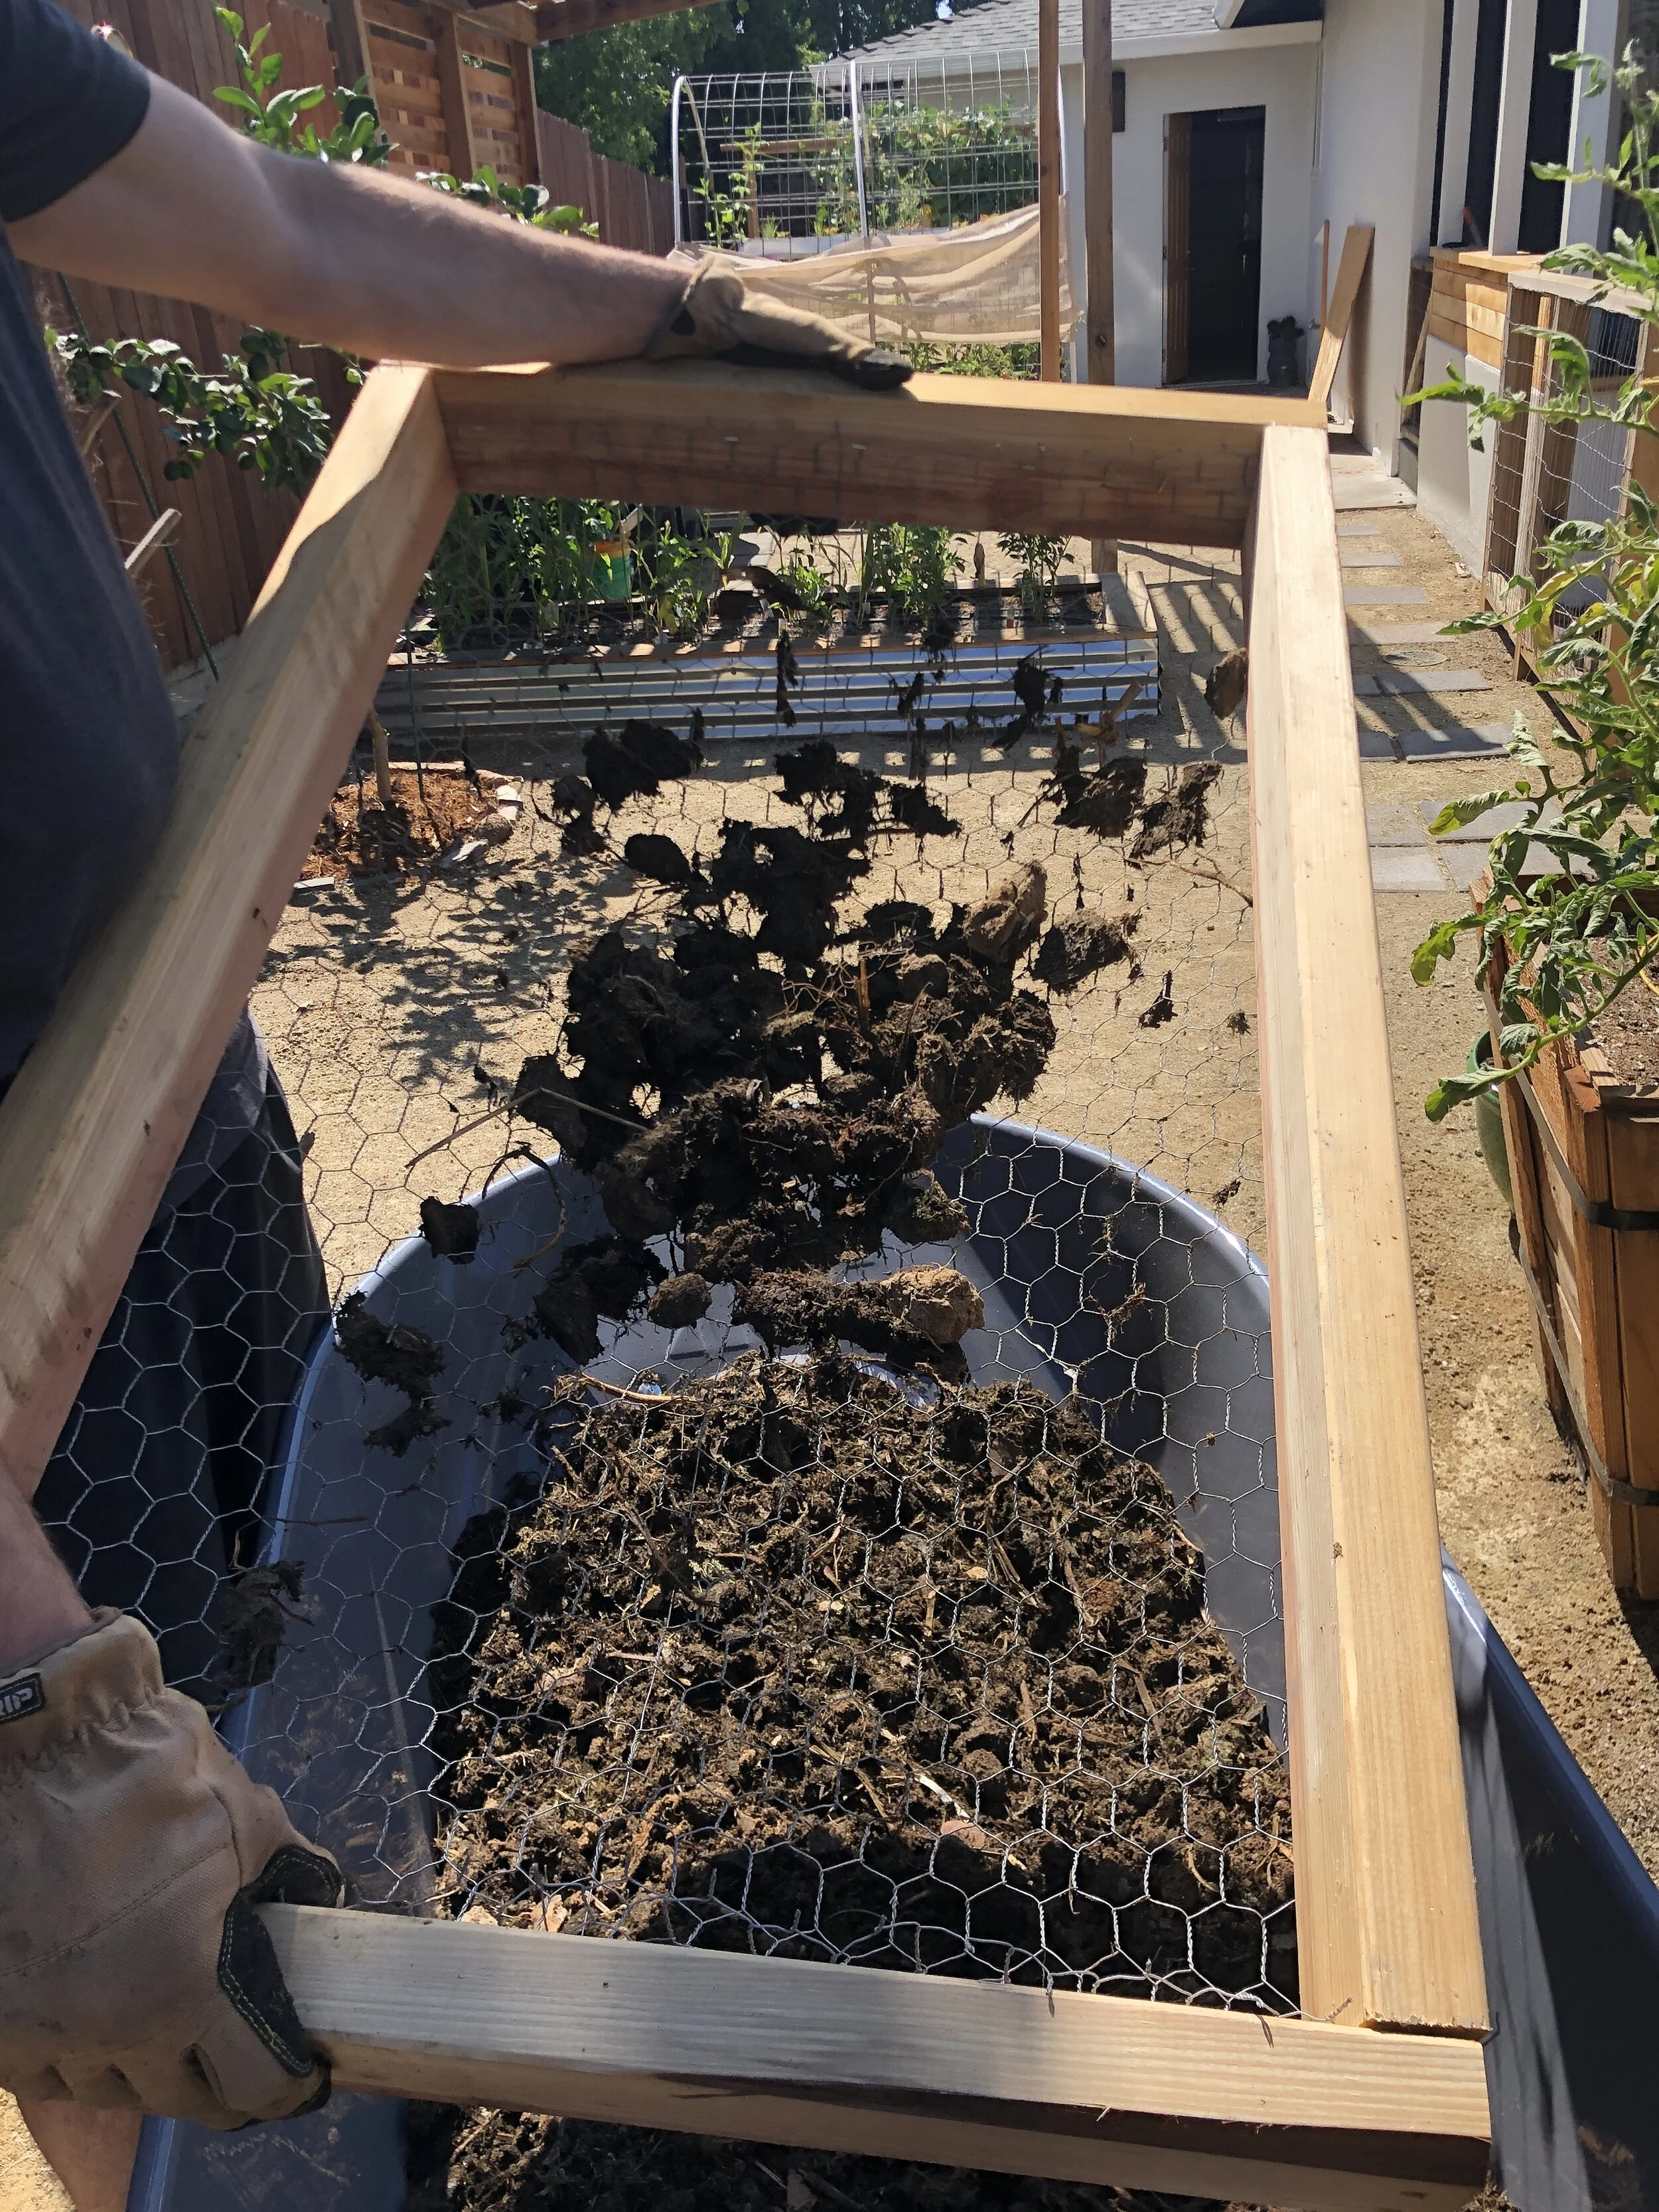
Compost is one of our favorite topics. It is a passive part of gardening that literally gives your garden life from what many people throw away! We’re here today to talk about how to build a compost sifter and why you should use this tool in your garden. A compost sifter is quick and easy to build and a perfect tool to assist in breaking down that compost into uniform pieces.
If you’re interested in learning more about the basics of composting and reason’s why you should compost, check out our post on Composting 101.
A compost sifter isn’t necessary for using your compost, but it will help sift out the compost that might not be garden-ready. In these 5 easy steps we will guide you in how to build one for yourself in less than 30 minutes!
A compost sifter helps sift out pieces of compost that need more time
How to Build a Compost Sifter in 5 Easy Steps
STEP ONE: Collect your materials
We actually had all these things around the house already and if you’re like us, you may also!
Materials Needed:
10’ 2x4 (would make a sifter that is 2’ x 3’)
2 1/2” deck screws (8)
chicken wire
staples (1/2” or 9/16”)
Tools Needed:
staple gun
drill
circular saw (or chop saw)
wire cutter
tape measure
pencil
speed square (is helpful)
STEP TWO: Create the Frame
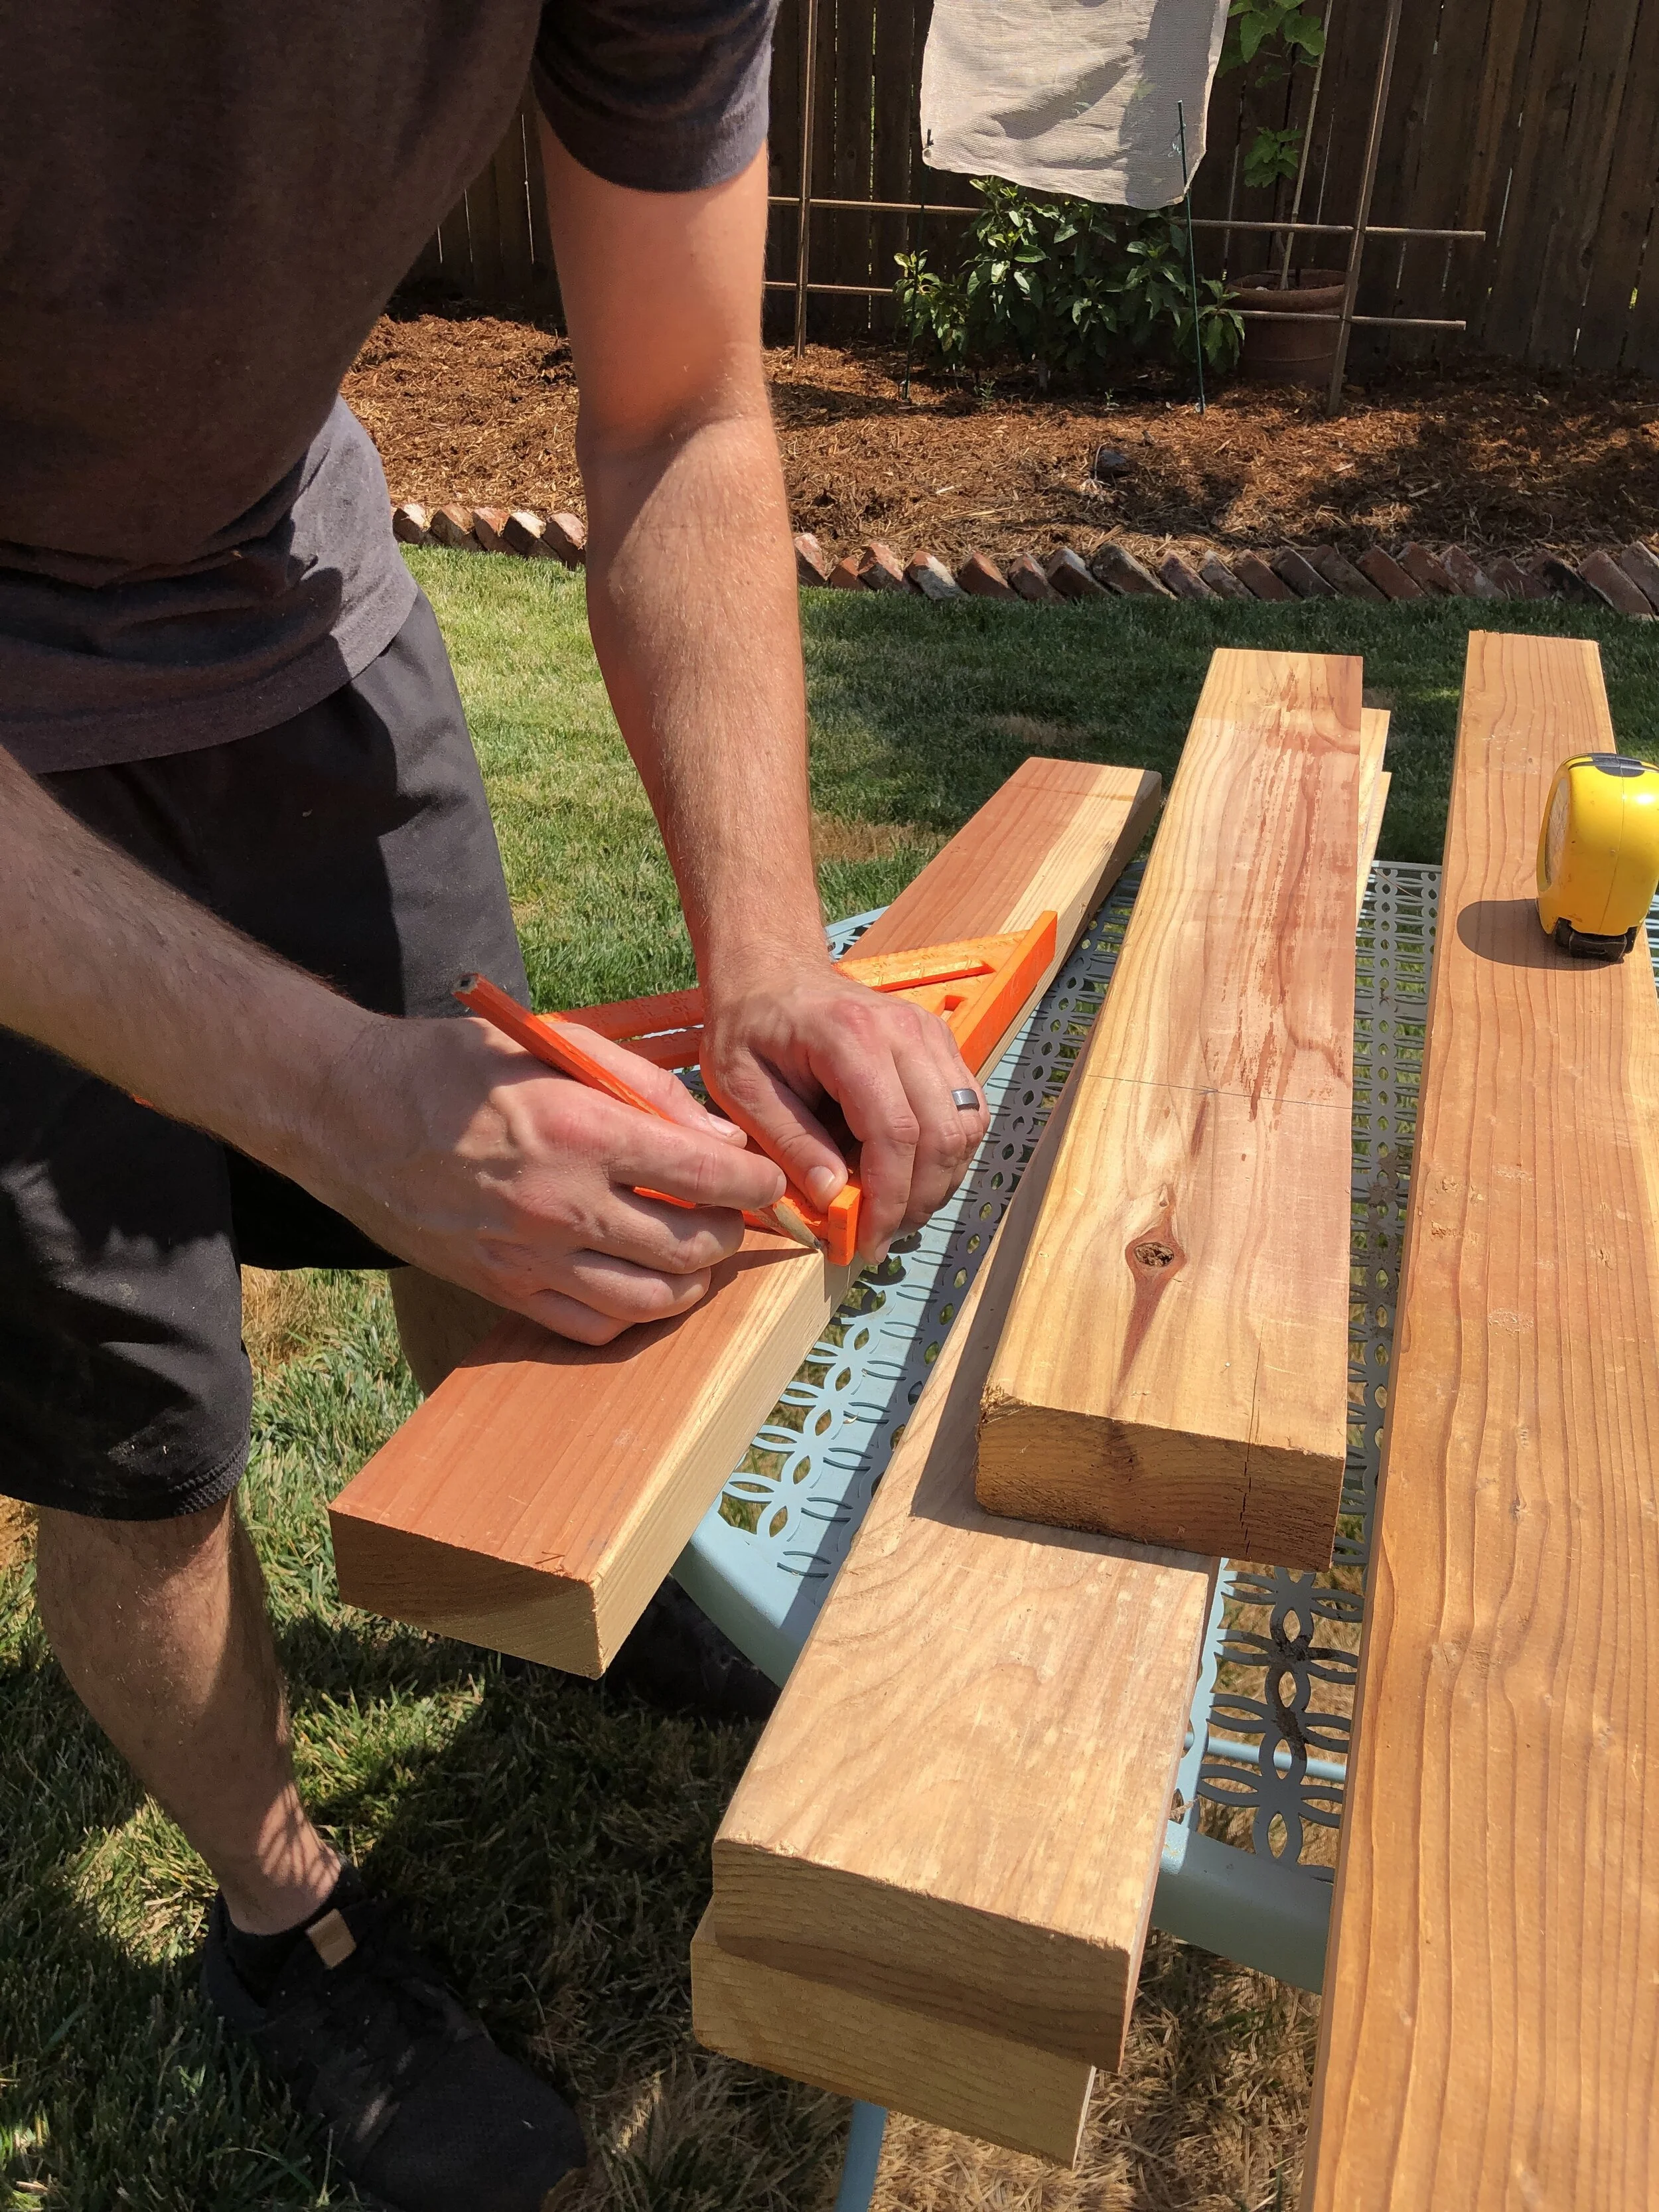
We wanted our sifter to fit the size of our wheelbarrow, so we decided on a 2’x3’ frame. Once your materials are collected, cut your 2x4 pieces to size and dry-fit them together to ensure it’s your desired size.
STEP THREE: Staple the chicken wire
Chicken wire comes in a 2’ width, so you’ll roll it in the same direction to match the width of your frame. First roll out the chicken wire so it has a 2” overhang on both sides. Start stapling along the 3’ length making note to wrap 2” of wire along the edges of the 2x4. This will give your sifter extra support.
We found it easiest to staple the already cut end into place, and staple down the side keeping the chicken wire taught prior to cutting the chicken wire off the roll.
STEP FOUR: Drill the end pieces onto the frame
After the chicken wire has been wrapped and stapled, drill in the end pieces of the frame using 2 1/2” deck screws.
STEP FIVE: Secure the remainder of the chicken wire to the frame with staples
We added a staple every few inches onto the frame and have no problem with the wires coming off.
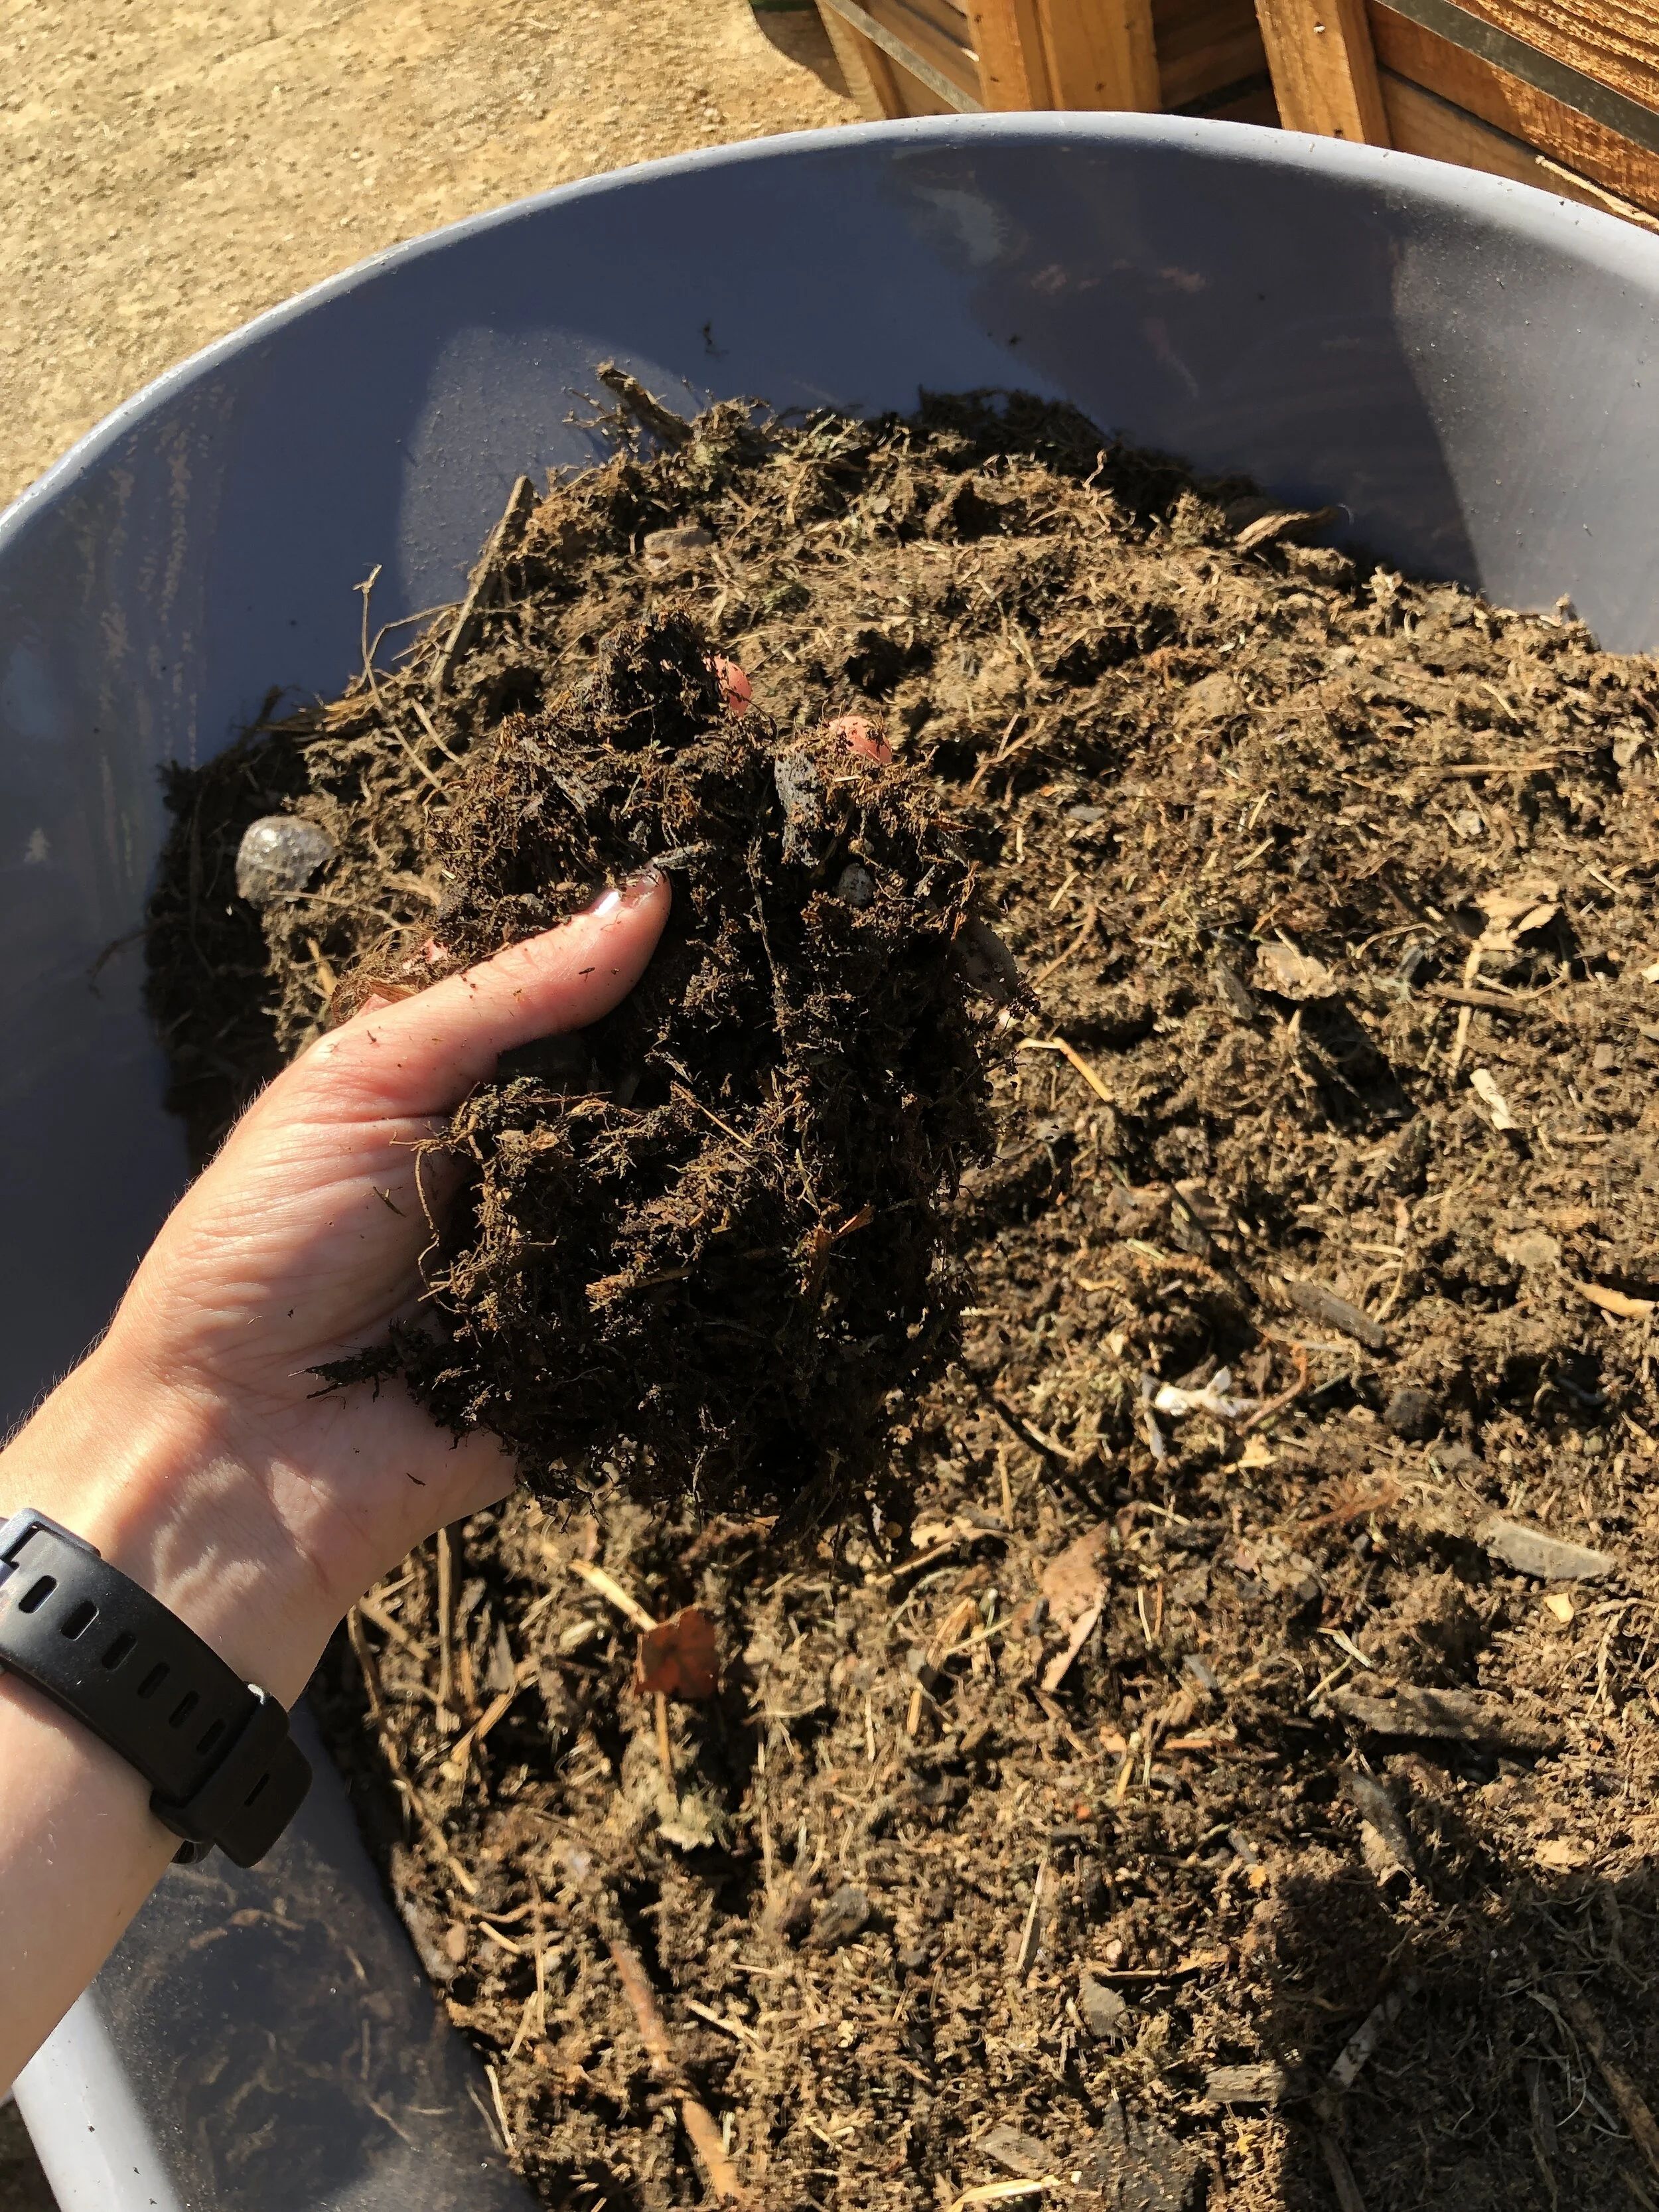
Using a sifter will yield uniform compost that will be easy to use in your garden!
And now you’re ready to harvest your compost using your sifter! We hope this step by step guide was useful and would love to see your final product! Don’t forget to to subscribe to receive our latest content!
If you’d like to learn more about different kinds of composting, check out our Beginners Guide to Vermicompost!
Happy composting,
-L&B


