
Simple Pickled Dilly Beans
Dilly beans are a well awaited treat towards the end of summer. We long to re-stock our pantry with tasty and crunchy pickled dilly beans. This is a super simple recipe that takes only 30 minutes of prep and 20 minutes of cook time.
If you have seen our other canning posts, like our Spicy Pickled Carrot Recipe, you will notice we have this set up the same. Rather than just giving you the recipe we like to explain the simple process of water bath canning too. You don’t need a ton of fancy equipment, but tools like a jar filler and jar lifter are very helpful in aiding you in not burning yourself! (We learned the hard way). You’ll want to have a large stock pot (we use a pressure canner because it’s super deep - but really you just need a pot that will be able to fit your jars in and enough water to cover by about 2 inches with a rack that keeps the cans off the bottom of the pot. If you are new to canning, be sure to check out our guide on Preserving Basics with 4 Steps to Successful Canning.

Step 1: Gather Your Ingredients
For the brine:
2 1/ 2 cups of white vinegar
2 1/2 cups of water
1/4 cup of canning & pickling salt
Ingredients:
2 lbs of beans (green or wax beans)
8 cloves of garlic
4 heads of dill
1/2 tsp dill seed (1/8 tsp per jar)
Recommended Equipment:
water bath canner (or large stock pot)
large sauce pan (to make the brine)
jar lifter
jar filler
knife & cutting board
4 pint jars with new lids and rings

Step 2: Sterilize jars
Place the pint jars into the water bath canner and fill with water to measure two inches above the jars. Bring water to a simmer (180 degrees) until ready to use. Alternatively, you can sterilize your jars in the dishwasher (without soap or other dishes) on the high heat cycle.
Note: you are not only sterilizing your jars, but ‘pre-heating’ them as well. This will prevent your jars from breaking when you pour the hot brine into them.

Step 3: Prep the brine
In a large stock pot, combine the white vinegar, water and salt. Whisk well until salt is dissolved. Bring liquid to a low simmer for 10 minutes, keeping covered to prevent evaporation.

Step 4: Prep the ingredients
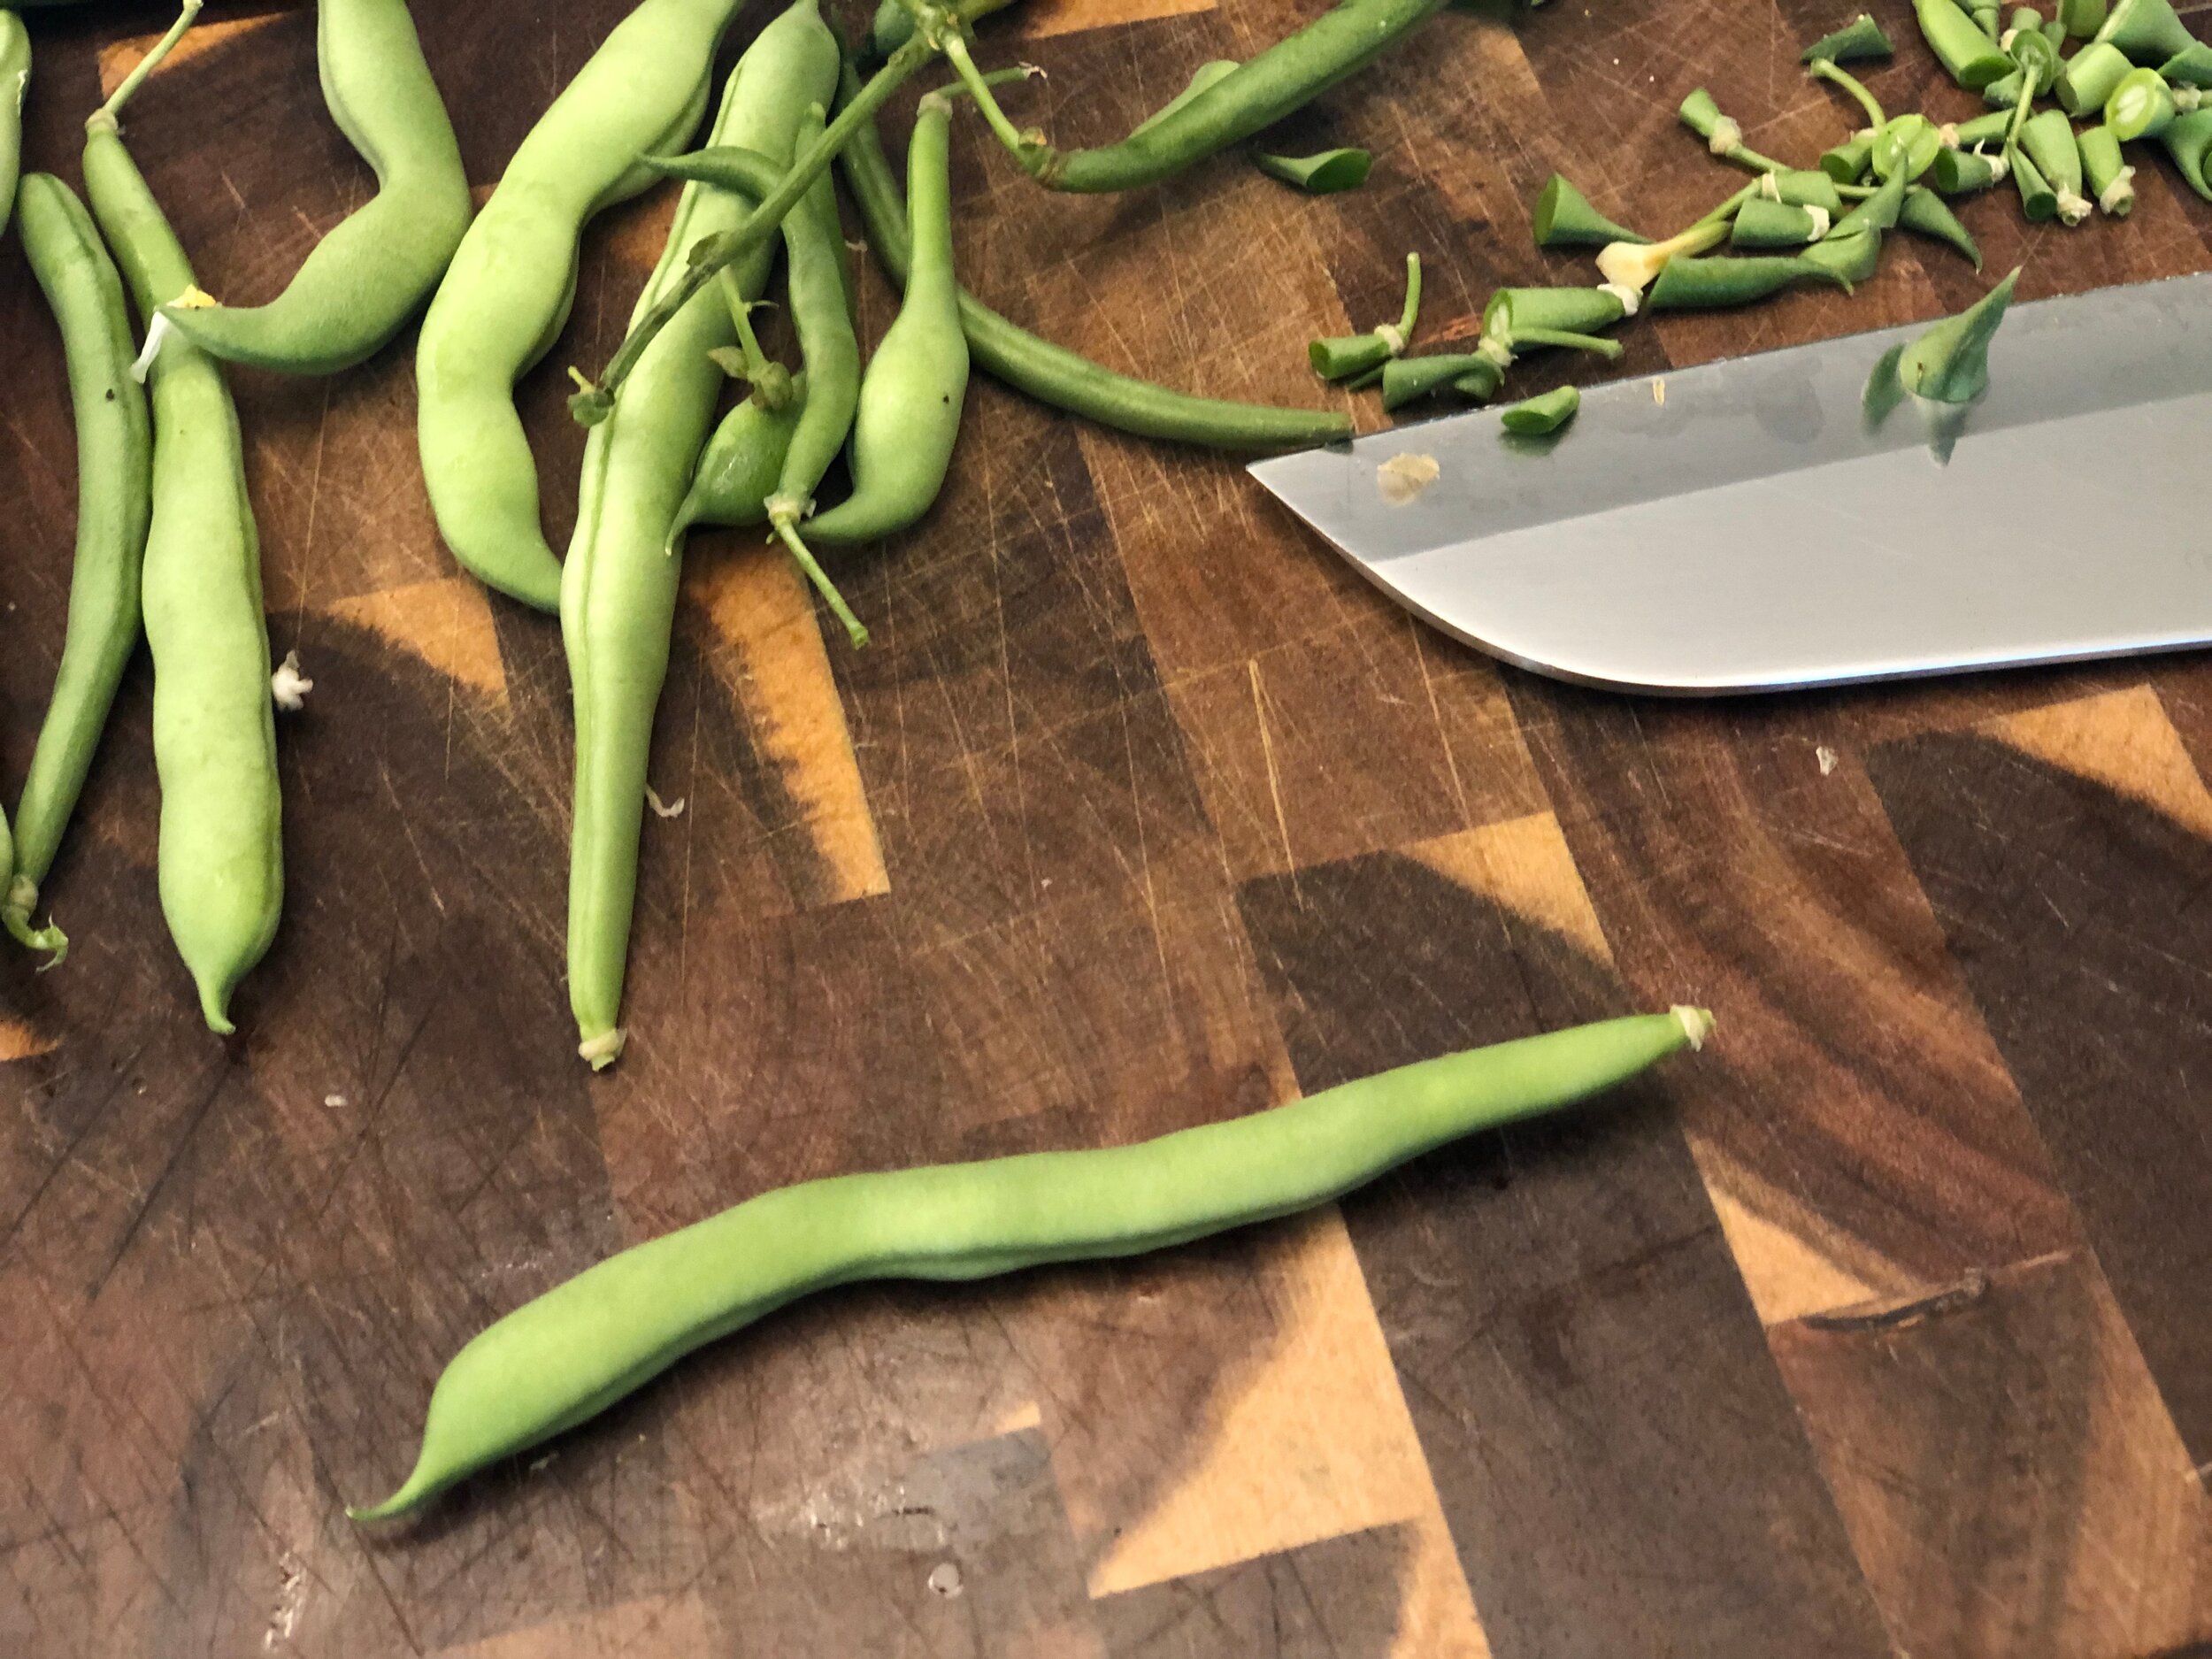
Trim your beans taking note that some beans may have to be cut down or cut in half to fit in the jar, (tip: we use an extra pint jar to help measure!). Peel your garlic and keep whole. Trim your dill sprigs to equal sizes (keeping the dill heads intact).
Step 5: Fill the jars
Once you have everything prepped and ready, remove the jars from the simmering water and place near your prepped ingredients. Taking care to not touch the inside of the jars. Place two pieces of garlic, one head of dill in each jar and sprinkle in the dill seed. Fill each jar with equal amounts of beans.
Next, fill the jars with the brine liquid leaving about a 1/2” of head space. Carefully place a lid on each jar (without touching the ‘sterile’ part of the lid), and gently screw on the ring taking care to not over tighten.


Step 6: Water Bath Canning
Bring your water bath canner to a boil. Using a jar lifter, place each jar into the water ensuring that there is at least 1” of water over the jars. Cover water bath canner with a lid and return to a full boil. Keep covered and ‘cook’ for 15 minutes. Turn off heat and remove lid for 5 minutes to cool. Using the lifter remove the jars to a towel on the counter. Allow to rest for 24 hours.
Step 7: Jar Test & Enjoy!
After 24 hours do a jar test to ensure your jars have sealed by checking the center of the jar. If you can press down the center that jar did not seal and will need to be placed in the fridge for consumption within the month.
For the best flavor give your Dilly Beans 2-3 weeks to absorb the flavor before consuming.

Pickled Dilly Beans
Yield: 4 Pint Jars | Prep Time: 30 minutes | Cook Time: 20 minutes
Ingredients:
2 lbs of beans (green or wax beans)
8 cloves of garlic
4 heads of dill
½ tsp dill seed
2 ½ cups of white vinegar
2 ½ cups of water
¼ cup of canning & pickling salt
Steps:
Sterilize jars. Place the pint jars into the water bath canner (or large stock pot with a bottom rack) and fill with water to measure two inches above the jars. Bring water to a simmer (180 degrees) until ready to use. Alternatively, you can sterilize your jars in the dishwasher (without soap or other dishes) on the high heat cycle.
In a separate pot, combine the white vinegar, water and salt. Whisk well until salt is dissolved. Bring liquid to a low simmer for 10 minutes, keeping covered to prevent evaporation.
While your brine is simmering, begin to prep your beans, dill and garlic. Trim your dill sprigs to equal sizes, peel and keep your garlic whole and trim your beans to size.
Fill your jars. Remove jars from simmering water and place two pieces of whole garlic, one head of dill and ⅛ tsp of dill seed. Then fill equally with beans.
Fill your jars with the brining liquid. Place a top and ring on each jar ensuring its hand tight.
Place the 4 pint jars into a large stock pot and fill with water to cover the jars by 2 inches of water. Cover the pot and bring to a full boil. Once the water boils, keep covered and cook for 15 minutes.
Turn off heat and remove the lid. Let cool in water for an additional 5 minutes.
Using a jar lifter, remove the pint jars and let rest on the counter for 24 hours.
Ensure all your jars sealed properly before placing in your pantry.
For best flavor, we recommend letting your Dilly Beans rest for 2-3 weeks before consuming.
Thanks for reading our recipe and don’t forget to subscribe to keep up!
Happy Preserving,
L&B