
How to Fix your Fiddle Fig’s Fungal Problem [4 Step Guide]
This post does contain affiliate links. By clicking and purchasing through these links we receive a small commission at no additional charge to you! This helps us continue to bring you new content.
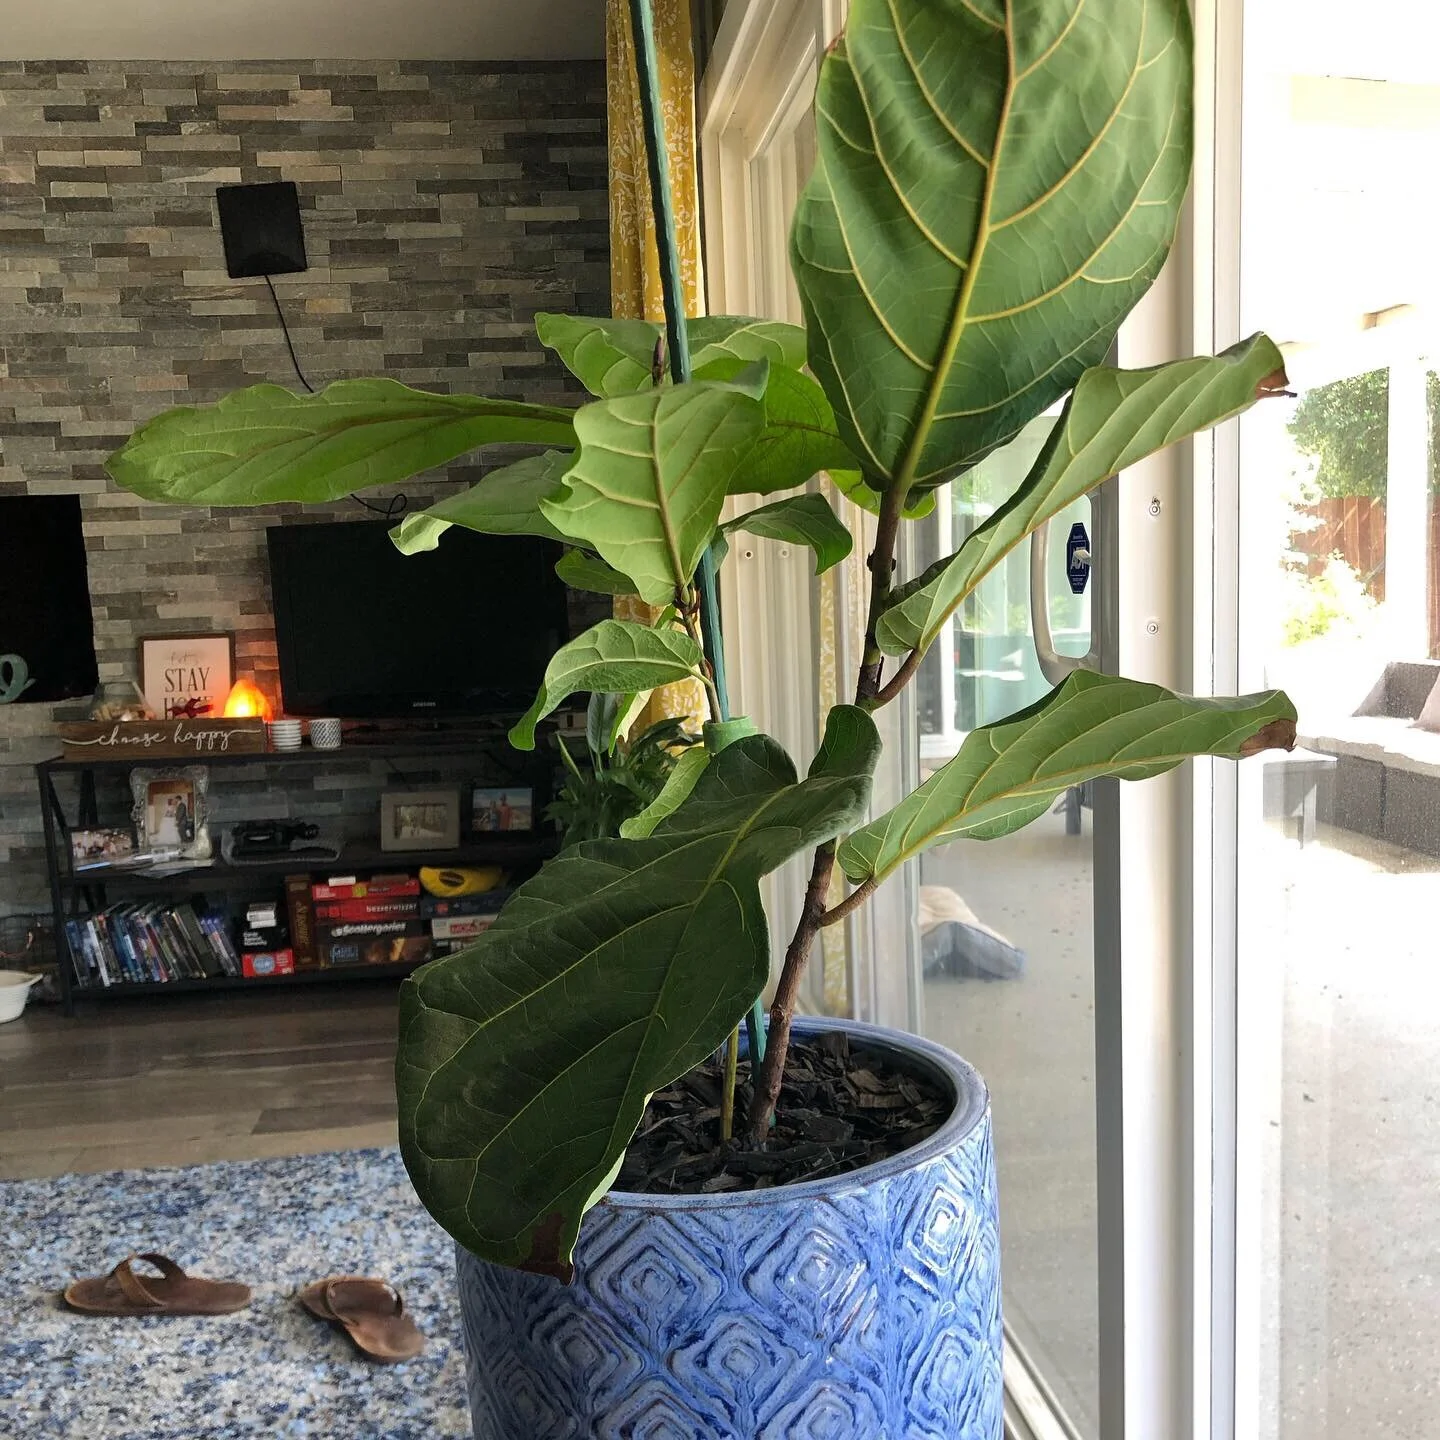
If you’re like me, you H A D to get a Fiddle Fig because they’re all over social media, HGTV, and they’re just so darn cute! You didn’t really do any research but when you saw it at the local nursery, you made a (not cheap but not expensive) impulse buy. Unless you got one of the really tall ones, then you made an expensive impulse buy.
Fiddle Figs (also known as Ficus Lyrata for you scientific people) are a bit fickle. They need very consistent watering and just the right amount of sun and some humidity. And even if you do all of these things, it’s still very plausible that your Fiddle Fig will still get some sort of fungal issue (also called root-rot). It’s hard to dodge with these plants especially for the novice green thumb.
First, let’s diagnose your fiddle figs problems. You see brown spots on the leaves but your not sure why. These spots are really the first sign that your fiddle fig is crying out to you for help.
Problem: There are brown spots are on the edge of the leaf
This really is a sign that your plant is not getting enough water, or watering is inconsistent. And unfortunately, these dead spots are permanent.
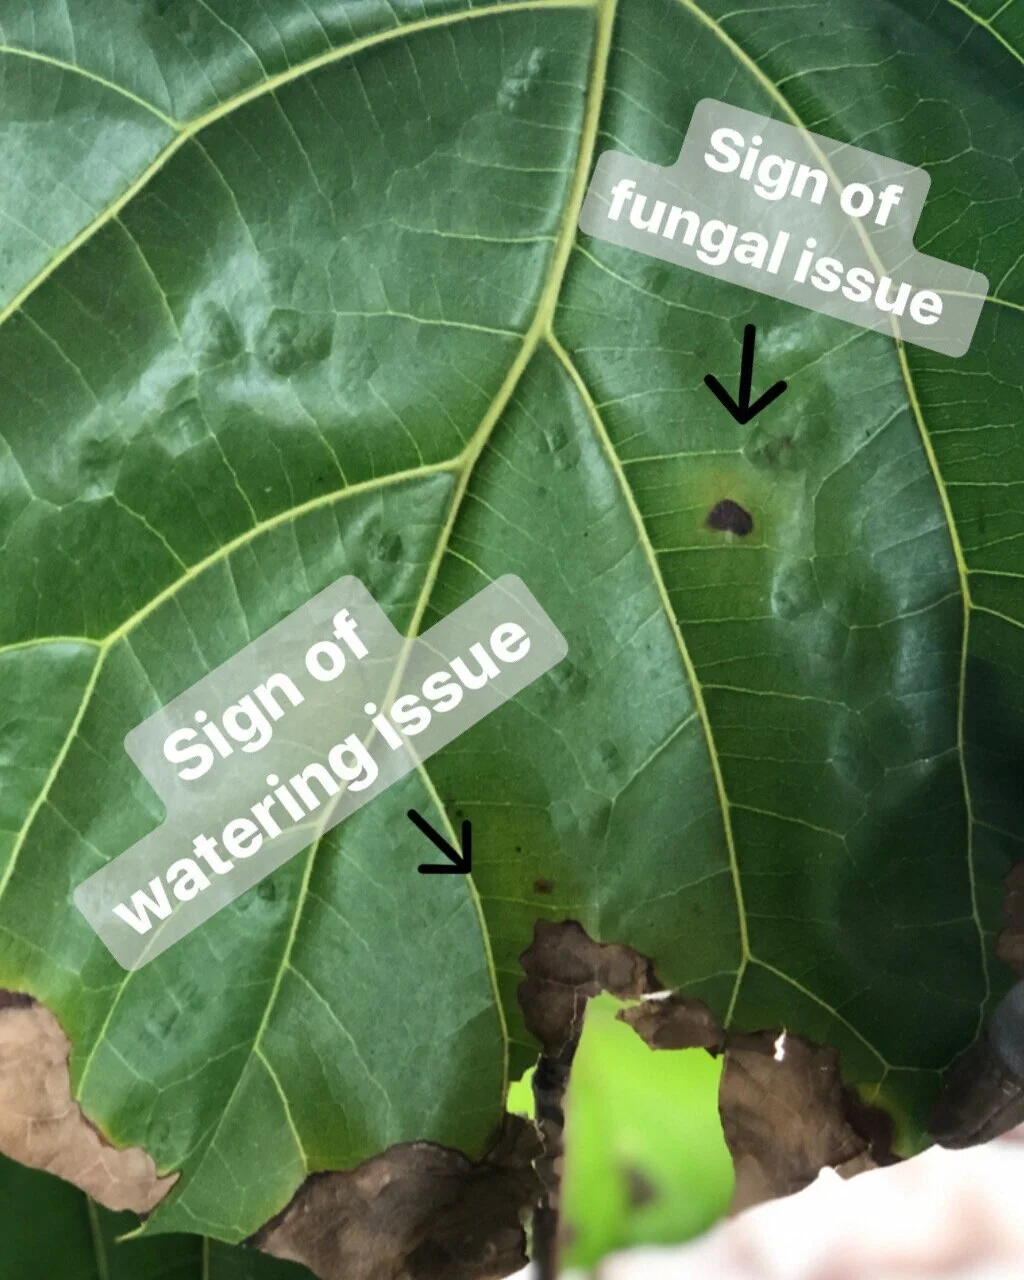
Simple signs of two common issues with Fiddle Leaf Figs
Solution:
I recommend setting a weekly timer on your phone and using a moisture meter to check if your Fiddle Fig needs water. (I use and love this one). Each time your water you need to use the exact same amount. Some people measure, I personally use about 2 quarts for my plant (which is one of my watering containers). Depending on the size of your plant this measurement will vary. Once the water begins to seep out from under the container,t hat is enough. As soon as you can get your watering consistent and on schedule you will prevent further damage to your plant. Note - If some leaves are severely damaged you will want to cut those leaves off, but take care not to take more than 1/3 of the leaves off at a time. If you’d like to read more tips on plant care, check out my other post on 6 Tips for Growing Houseplants.
Problem: There are brown spots in the middle of the leaf.
This is also unfortunate, and is a sign of an underlying fungal problem. This happened with my first Fiddle Fig (which I lost about half the plant to, but had great success in rehabilitating the other half). I also recently acquired another Fiddle Fig someone gave away for free that was poorly diseased. I did the same process and documented so I can share with you what I did and hope you will be able to save your beautiful Fiddle Fig!
Solution:
When you suspect a fungal issue with your fiddle fig, you need to repot your plant in fresh soil as soon as possible. You can save your plant by throwing away the bad soil and cleaning the roots of your plant thoroughly. It’s a bit of a process, but will save your investment and your plant baby.

To Prepare - I recommend having the following items on hand, as well as a space that can get dirty (preferably outside or in the garage). This process takes approximately 1 hour.
New potting soil
A new container (or plan to clean out your old one)
Access to a hose
Gloves
Handheld gardening shovel
An extra set of hands
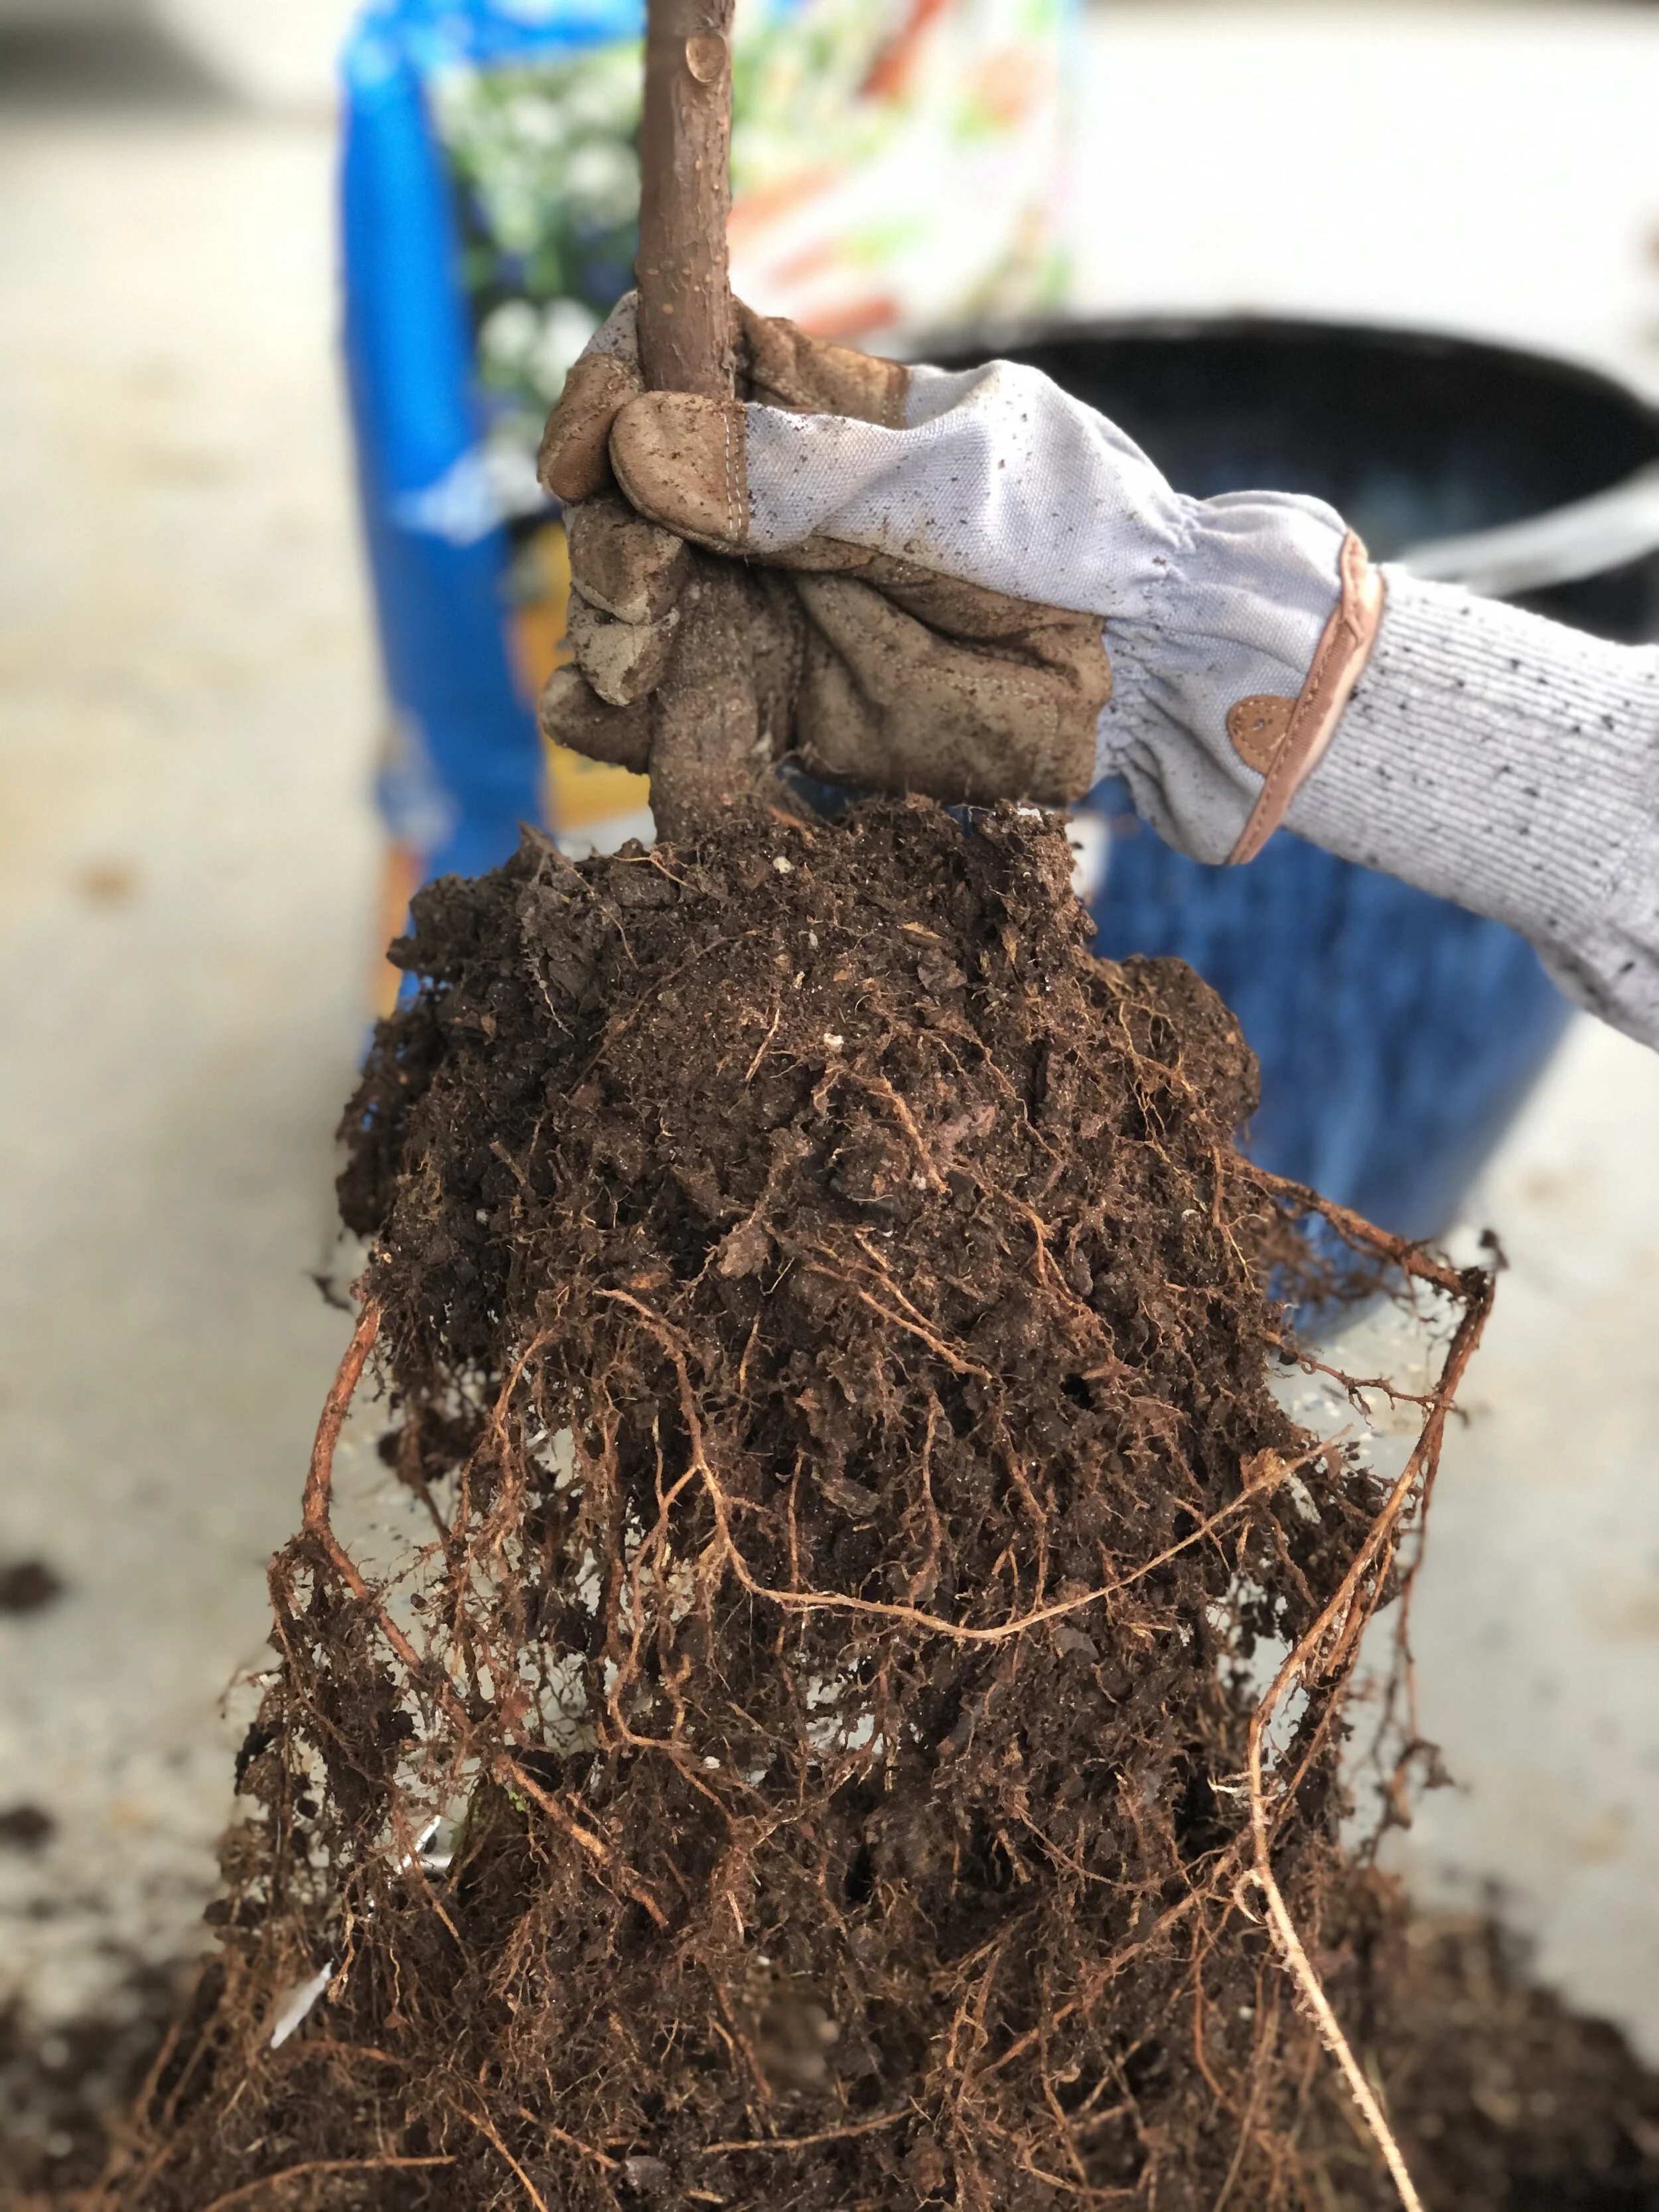
Step 1: Get Rid of the Bad Soil
First you need to get your fiddle fig out of its container. To facilitate this, I held the plant while my husband pulled the old container off the bottom. You may need to use the gardening shovel to loosen the soil around the container.
After the plant is out, with your hands, try to loosen as much dirt as you can from around the root ball. The more you can get off now, the less mud you’ll have later. Just be careful not to damage the roots, though you may find some roots are weak and fall off. If too many roots fall off during this process it will hinder the plants ability to recover, so be careful!
Once you have as much dirt off that you can get, bag up the old dirt and throw it away. Since your plant was sick, I do not recommend using this soil anywhere else in your garden or compost.

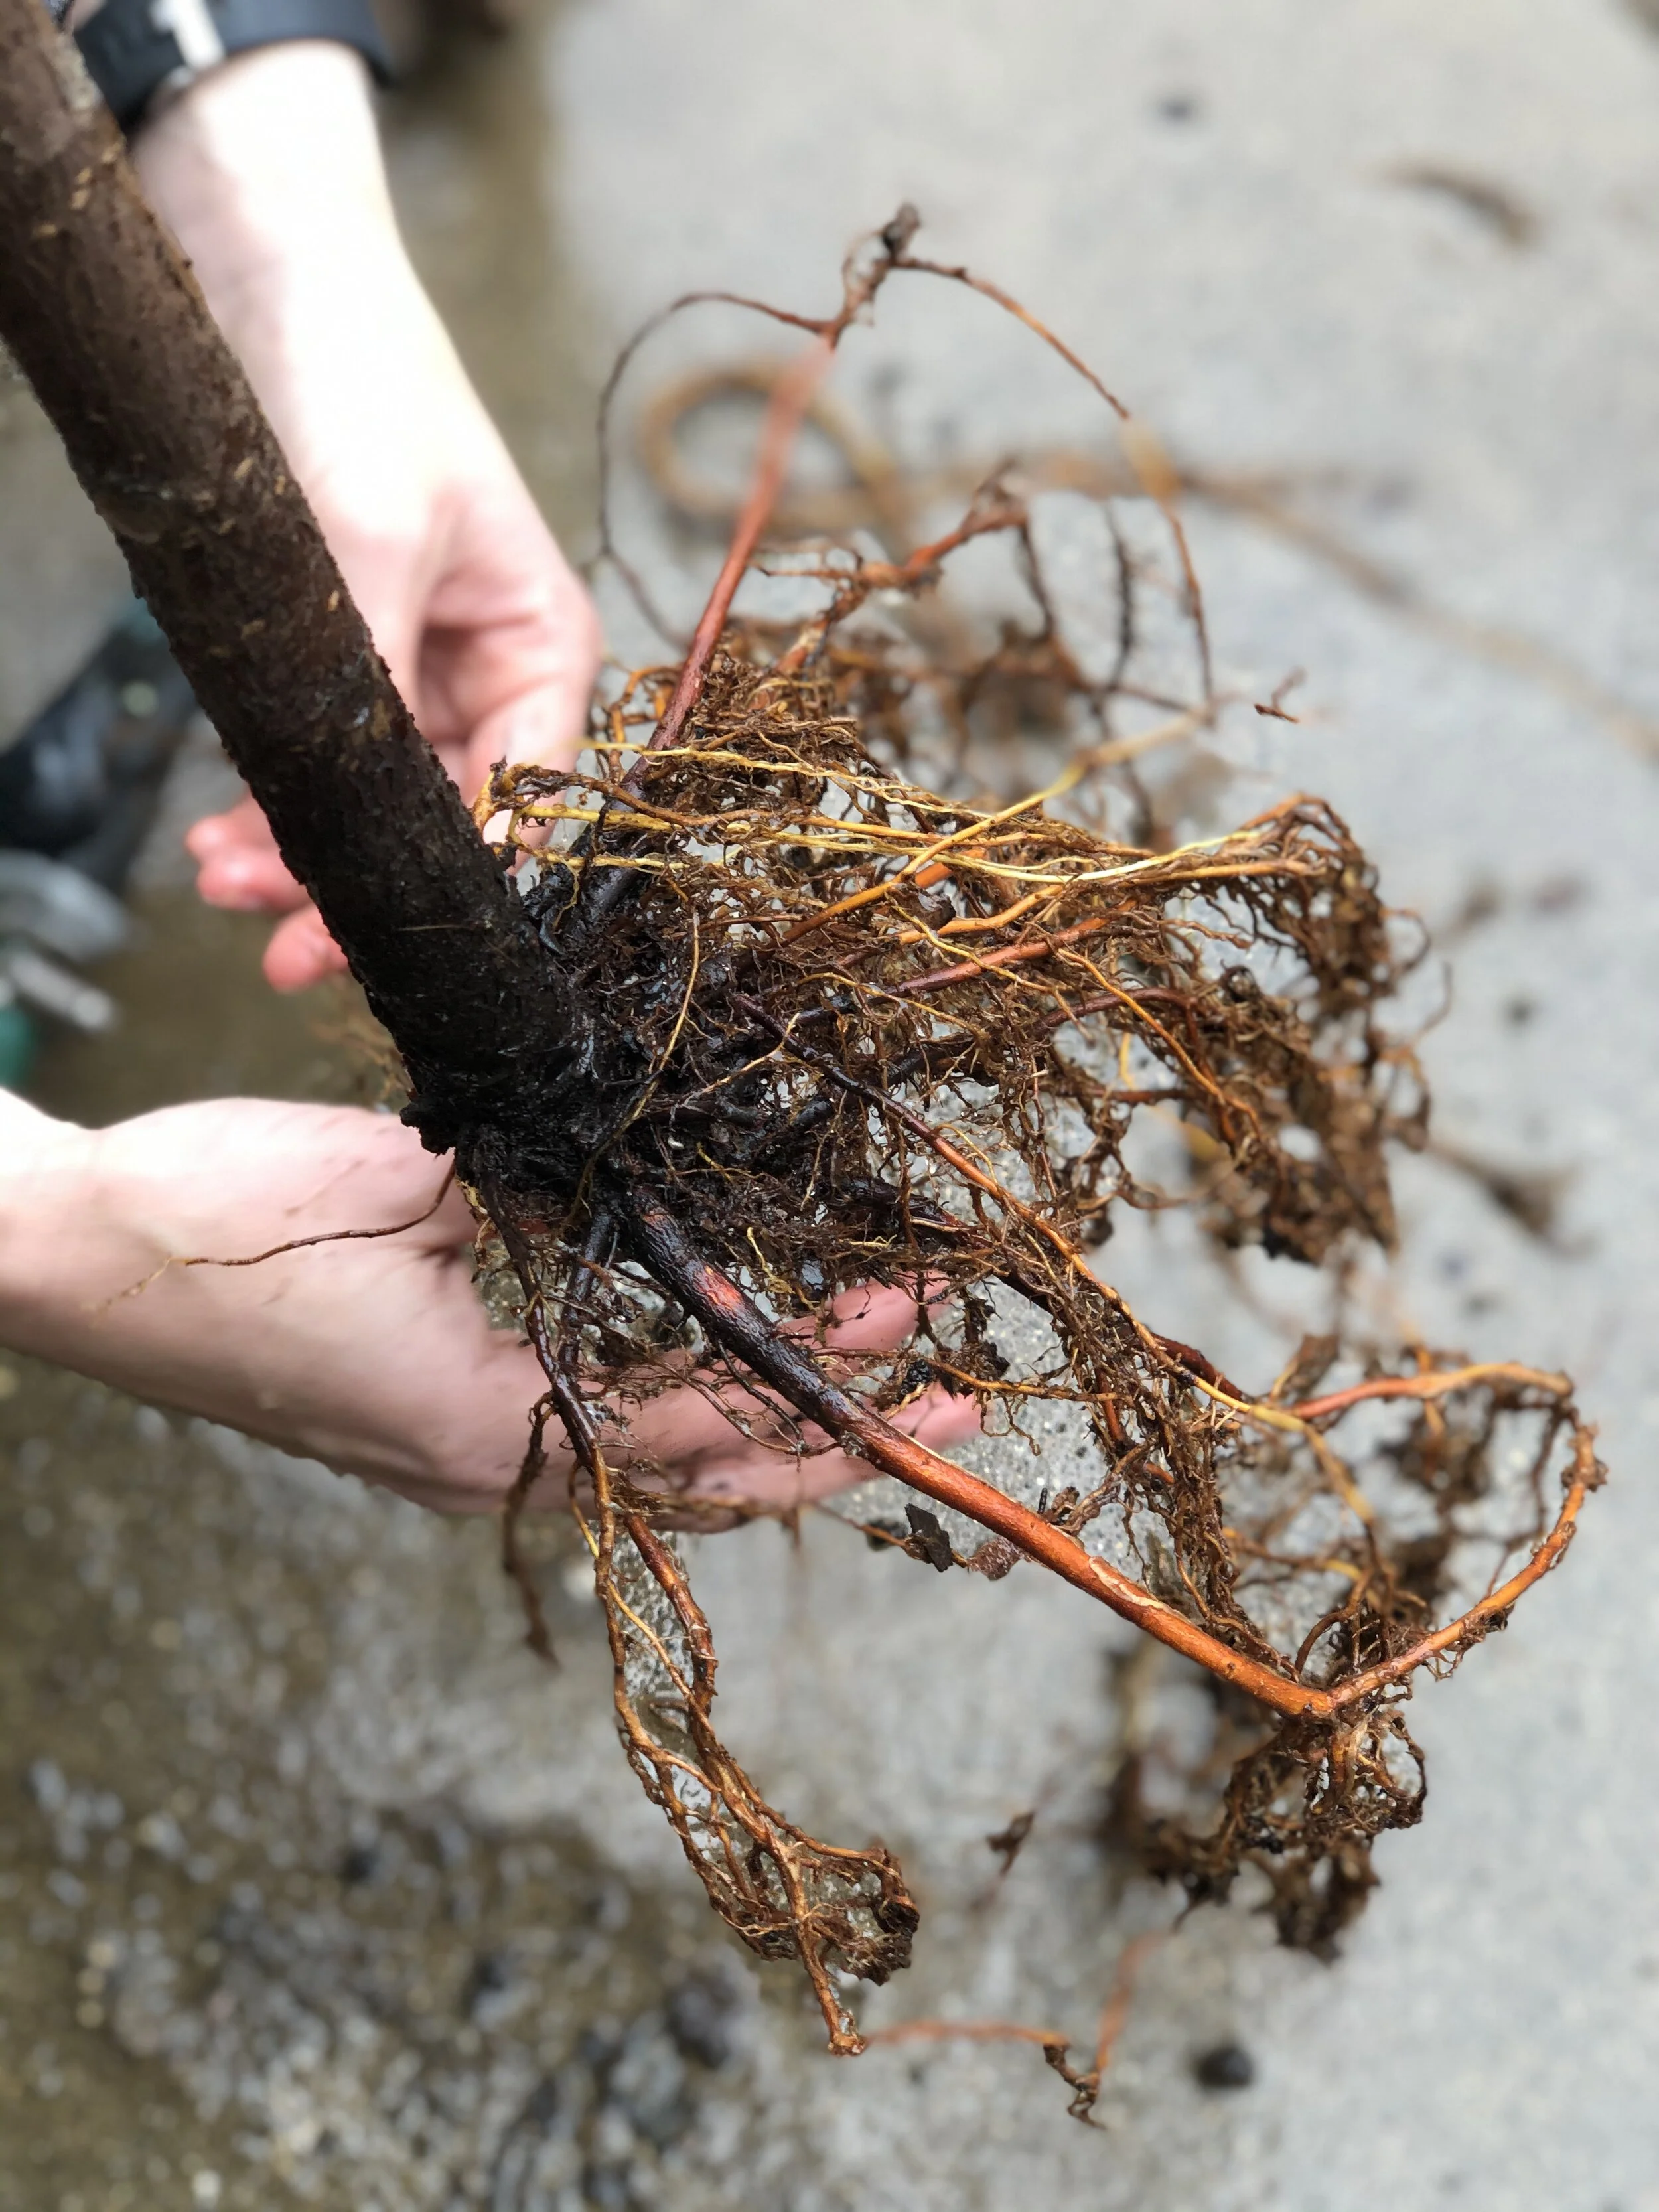
Step 2: Using a hose, give those roots a shower.
Again giving a lot of care to not damage the roots futher, take the hose and spray those roots. This works best with two people (depending on the size of your plant). You want to get rid of ALL that diseased soil.

Step 3: You’re ready to repot!
Now that your root system is clean, you are ready to plant that baby back in CLEAN soil. If you’re using the same container as before, be sure to thoroughly clean out any of the old dirt that is stuck inside.
Step 4: Move your Fiddle Fig back inside and water
Now that your fiddle fig is washed up and in fresh soil, give her a good watering and a dose of Fiddle Leaf Fig fertilizer.
Step 5: Care for the Leaves
I recommend wiping down all your plants leaves with a warm damp paper towel (this should be done monthly to rid of any dust). And note any leaves that are dead or not worth saving. Now is a good time to trim off any leaves taking care not to do more than 1/3 if possible. This will help your plant send energy into it’s roots and not attempt to save the dead leaves.
And that’s it!
Some final reminders:
To prevent further fungal issues, the best practice for Fiddle Figs is to water consistently and allow their roots to dry out completely between watering. I highly recommend a moisture meter, and watering at the exact time each week with the same amount of water each time (my fiddle figs typically take water each week during the spring and summer, and every other or every three weeks during the winter - but I always use a moisture meter to make sure the soil isn’t still wet from the previous week).
Add humidity to your routine. Fiddle Figs come from a humid environment, much more than our houses typically are. For me, I have a spray bottle dedicated for my house plants that I use weekly (or more in the winter). I simply mist all around my plants to give the air around them some moisture without wetting their roots.
Fertilize! This is the best practice to help give your Fiddle Fig a boost of energy (but don’t overdo it). Read the instructions on whatever fertilizer you purchase. Personally, I fertilize once monthly during the spring and summer and let the plant rest during the fall and winter.

I hope this post has helped you and your beautiful Fiddle Fig! I would love to hear feedback and would even more love you to share a picture of your Fiddle and introduce me! As always, subscribe for extra content and be sure to follow us on social @OurLibertyHouse.
Happy Growing,
Beth