
How to Grow and Freeze your Pea Harvest
So you grew the peas and had a bountiful harvest, and now A LOT of peas, but now what? How does one preserve their garden peas for the months to come? The beauty of backyard gardening is enjoying all the fresh vegetables that come with it, but how do you preserve the fresh vegetable taste? We have compared canning and freezing, but in our household agree that freezing will produce a better end product when you’re ready to eat in a few weeks or months from now! Frozen peas taste exactly like the day you harvested, and are also easy to cook.
The key to success in freezing your fresh green peas is to first blanch and then freeze. This method can be used for a variety of vegetables from the garden like carrots and green beans, but today we are going to highlight peas. The peas you harvest from your garden will have the pea pods and the tender peas inside. The most time consuming part of this will be shelling the peas (that is, if you are freezing shelled peas!). If you are freezing snow peas, then lucky you, you do not have to bear the painstaking process of shelling the peas from the pea pods. Thankfully my husband finds satisfaction in this task and is able to throw a podcast on and shell away. Not so much for me, I find shelling peas tedious! Whether this is your first time growing peas or are a season gardener looking for a refresher, this article we are going to discuss the life cycle of peas in the garden and then get into the process of preserving. If you want to dive straight into freezing process, click here to jump down to the easy steps of blanching and freezing peas.

Growing Peas and Knowing When to Harvest
Peas are relatively easy to grow and a fun vegetable for any beginner or seasoned gardener. We often grow two types of peas during the winter - sweet peas (or snow peas) and English peas (shelling peas). The difference will be whether or not you want to eat the pea pod or not. Sweeter pea varieties, like snow peas, are delicious with the pod in tact and harvested from the vine while the peas inside are small and tender. Shelling peas are the opposite and will have a more bitter pod with a stringy texture. Though these are edible and not too bad when harvested young, the idea behind growing a shelling pea variety is to wait to harvest until the peas inside the pod are firm, round and about 3 to 4 inches long. Alternatively, you will also know it is time to harvest when the pod begins to split slightly. Once you see this, you will know it’s time.
Peas are climbing vegetables so you will want a trellis for them to grow on. Our favorite trellis techniques are using our cattle panel vertical trellis or arched trellis, but growing along a fence line or any other support system will help them grow and avoid pests or disease. Peas are usually indeterminate, meaning they will continue to produce all season long. is means that you will be able to get many harvests during the plant life. For us, we will slowly pick throughout the growing season and cook and eat fresh. But after a few months, the plant will near the end of it’s life cycle and we will get one last massive harvest. This is when we freeze what is left and tear out the plants.
English pea plant only a couple weeks old

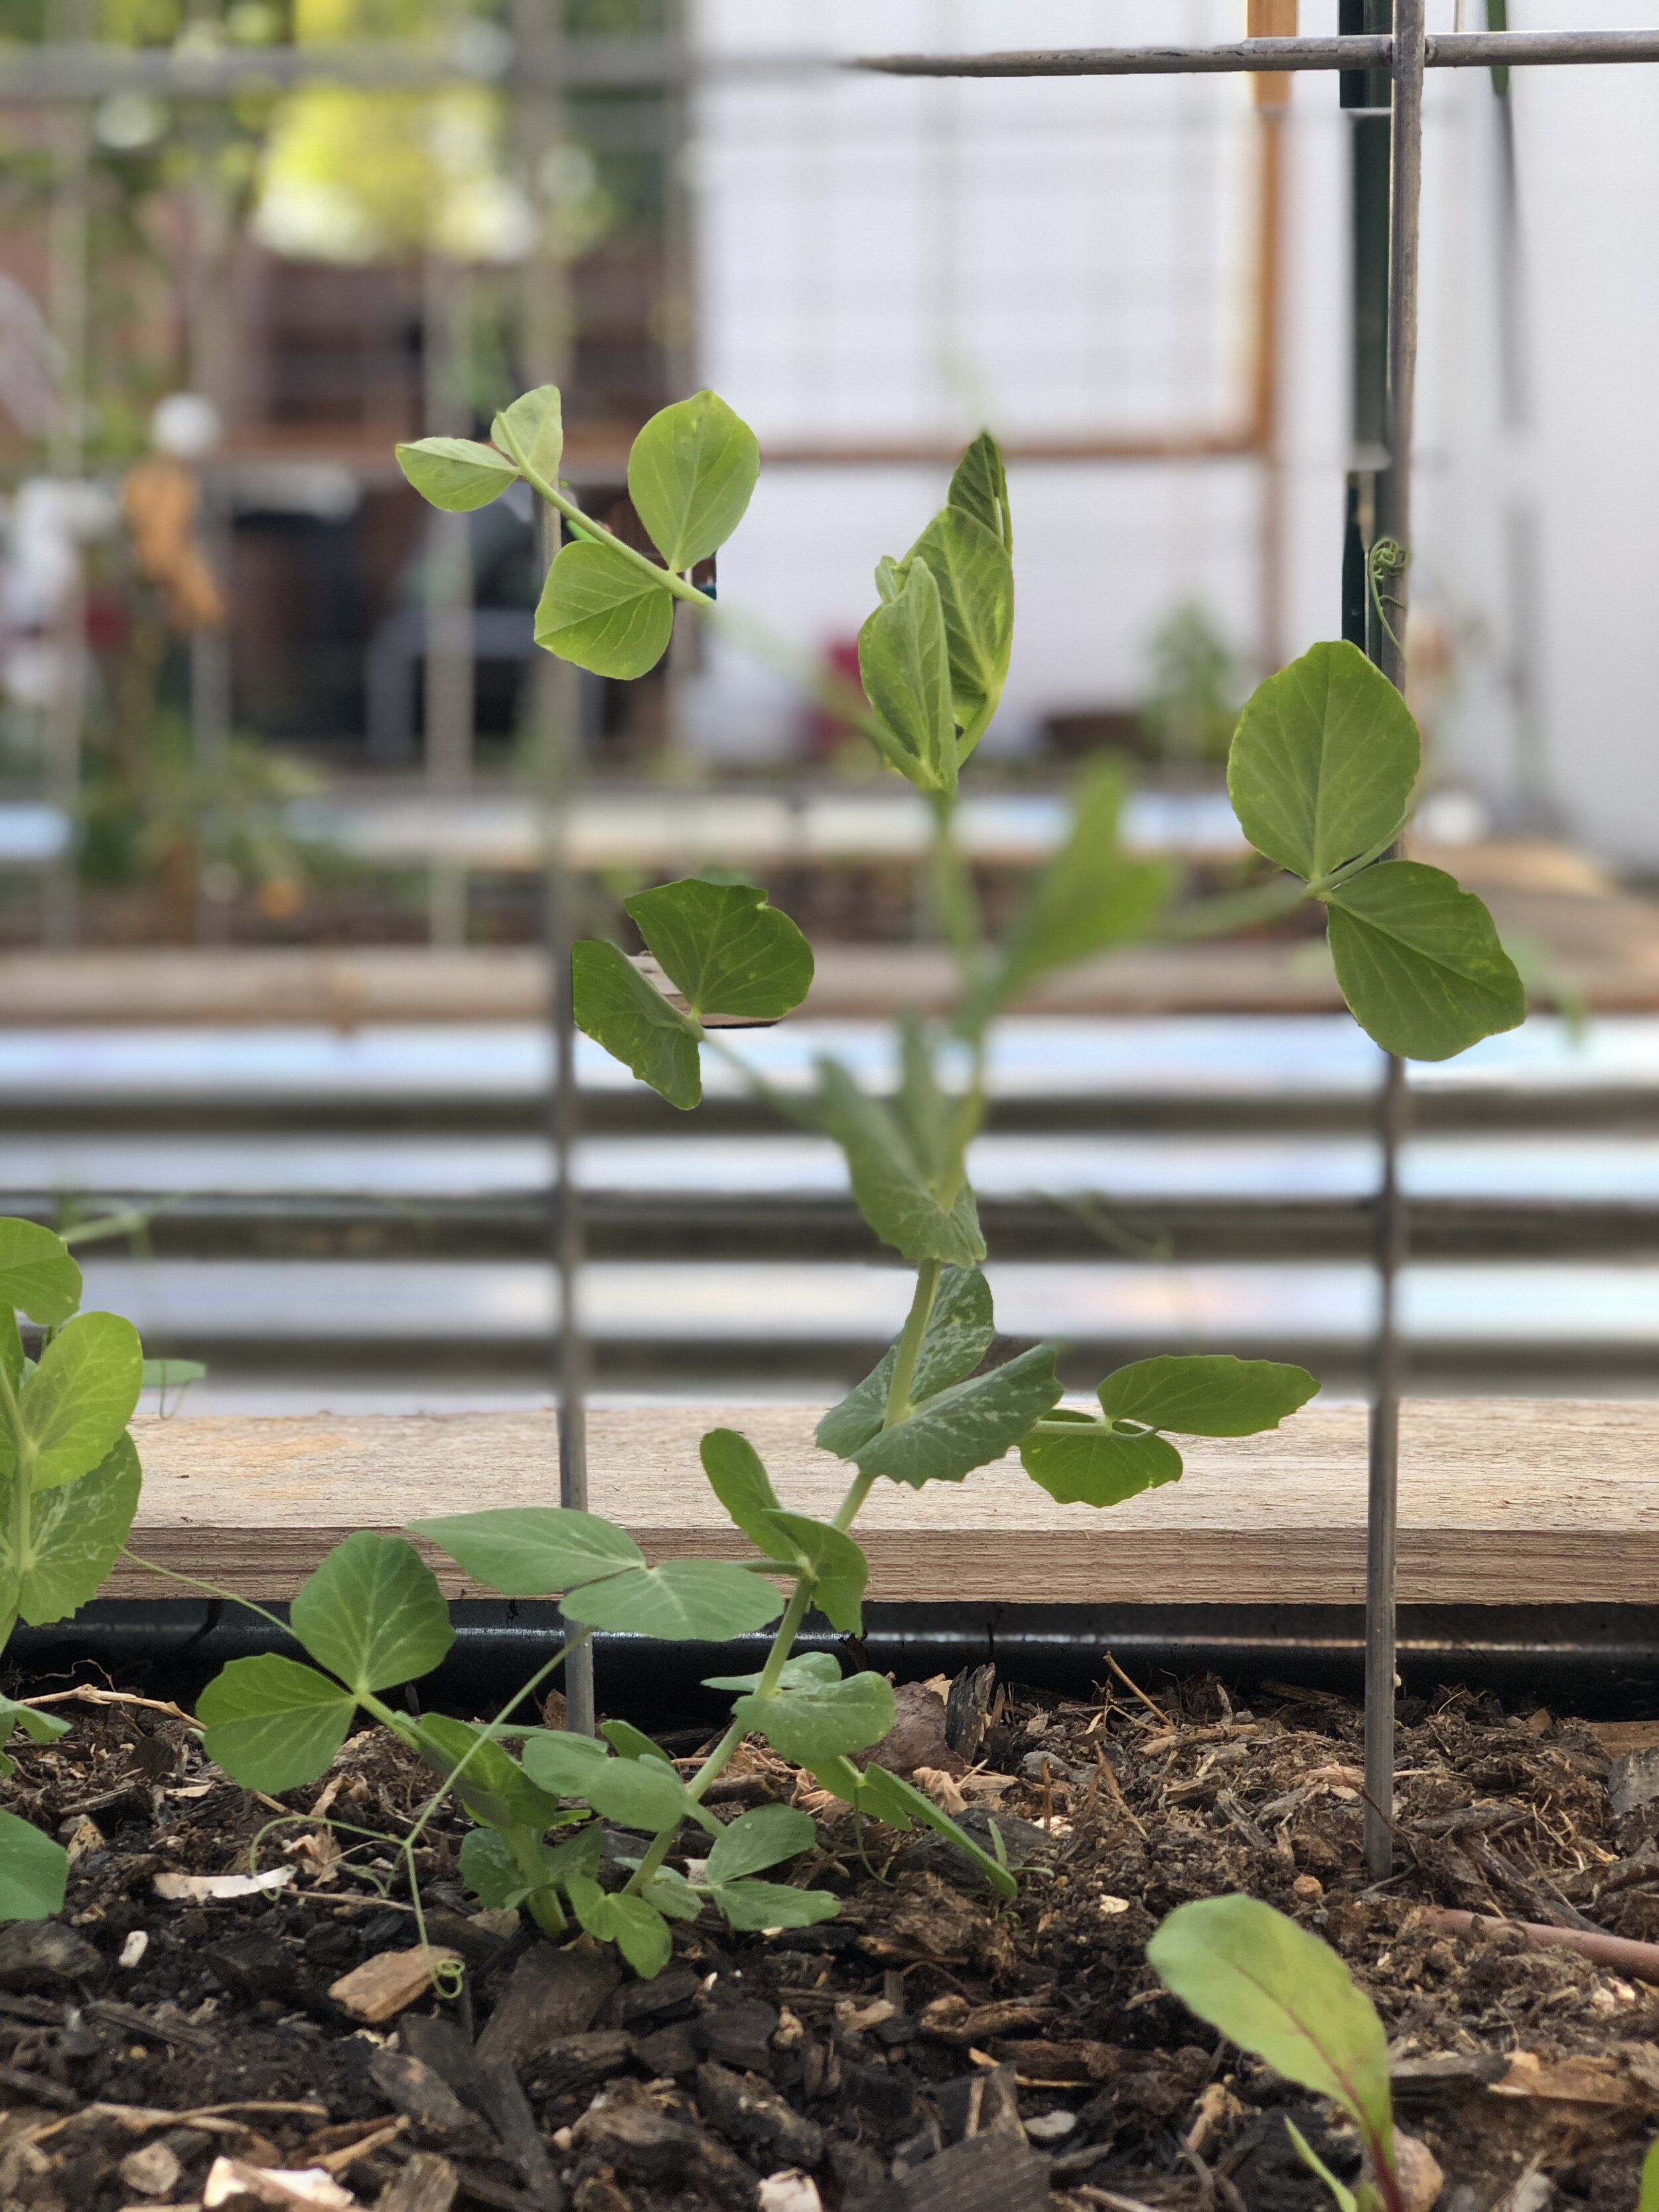
The same English pea plant 2 months old
One sign that your pea plant is at the end of it’s life is when powdery mildew begins to set in. Powdery mildew can be identified when the leaves of the plant begin to show white ‘powdery’ dust. Do not fret, this doesn’t cause any harm to the peas but you will want to thoroughly wash the peas before eating or freezing. If you plant has powdery mildew on it, you will also want to carefully remove the plant (after harvesting) to not cause the spores to float to the rest of your garden. It is also best to put the removed plant into your green waste (rather than a compost bin) to prevent further problems down the road.
So let’s get to it.
How to Freeze your Pea Harvest
What you need to get started:
Fresh Peas (these can be shelled peas or snow peas)
Large Pot with Boiling Water (enough water to cover peas by two inches)
Bowl or Colander filled with some ice
Freezer Bags
Cookie Sheet
The Blanching Process:
Blanching Time: 2 minutes
Bring a large pot of water to a rolling boil and cook peas for two minutes (blanching).
After 2 minutes, remove the blanched peas to a bowl filled with ice cubes and cold water (ice water bath) to stop the cooking process.
Once cooled to room temperature, drain peas and lay them in a single layer on a cookie sheet (optionally lined with parchment paper)
Freeze peas on the baking sheet overnight
The next day, remove the peas from the cookie sheet and place into a freezer bag taking care to remove as much air as possible. Label the bag and return the peas to the freezer.
Enjoy your pea harvest for months to come!
Pretty simple right? When your ready to eat your peas down the road you will simply re-heat like you would any frozen vegetables from the grocery store. Drop your peas into a bowl of water, then heat up on the stove top or microwave for 5 minutes. Alternatively you can add your frozen peas directly into pastas taking note to cook the peas for an additional 5 minutes.
If you’re a visual person, here is a link to our YouTube on the process of preserving peas by blanching and freezing.
We hope this process is simple and easy to understand for you! If you tried it out, let us know in the comments below! Happy gardening!
Other articles you may be interested in: