
DIY Cattle Panel Garden Trellis
This post does contain affiliate links. By clicking the link and making a purchase we receive a small commission at no additional cost to you! This helps us keep the lights on and continue to bring you great content.
A trellis is a great addition to any backyard garden. They give you an opportunity to grow vertical and save space in your garden!
What kind of plants benefit from a trellis?
Many! Some of our favorites include: peas, beans, cucumbers, tomatoes (indeterminate specifically), winter squash (like butternut squash), and melons.
Installing a trellis in your garden is easy, and we are here to share with you our design and DIY instructions for a beautiful and functional trellis that will last a long time. For this trellis we use cattle panel and redwood (cedar can be substituted). The instructions below will build you a 4x8’ trellis (taller with the legs). It can be built in an afternoon and costs less than $100.
Picking the Right Materials
When building a wood frame pergola, it is important to pick the best materials. We love using Redwood in our garden for it’s natural rot resistant qualities meaning we don’t have to worry about sealing the wood in order to make it last longer. Redwood is typically only found on the west coast, in other areas Cedar would be a great option with similar benefits.
Also, when selecting the metal interior you will want to make sure to select a galvanized material. Galvanized means that the metal has a protective zinc coating that is added to protect the metal from rusting.
For the screws, make sure to purchase ones rated for exterior use.
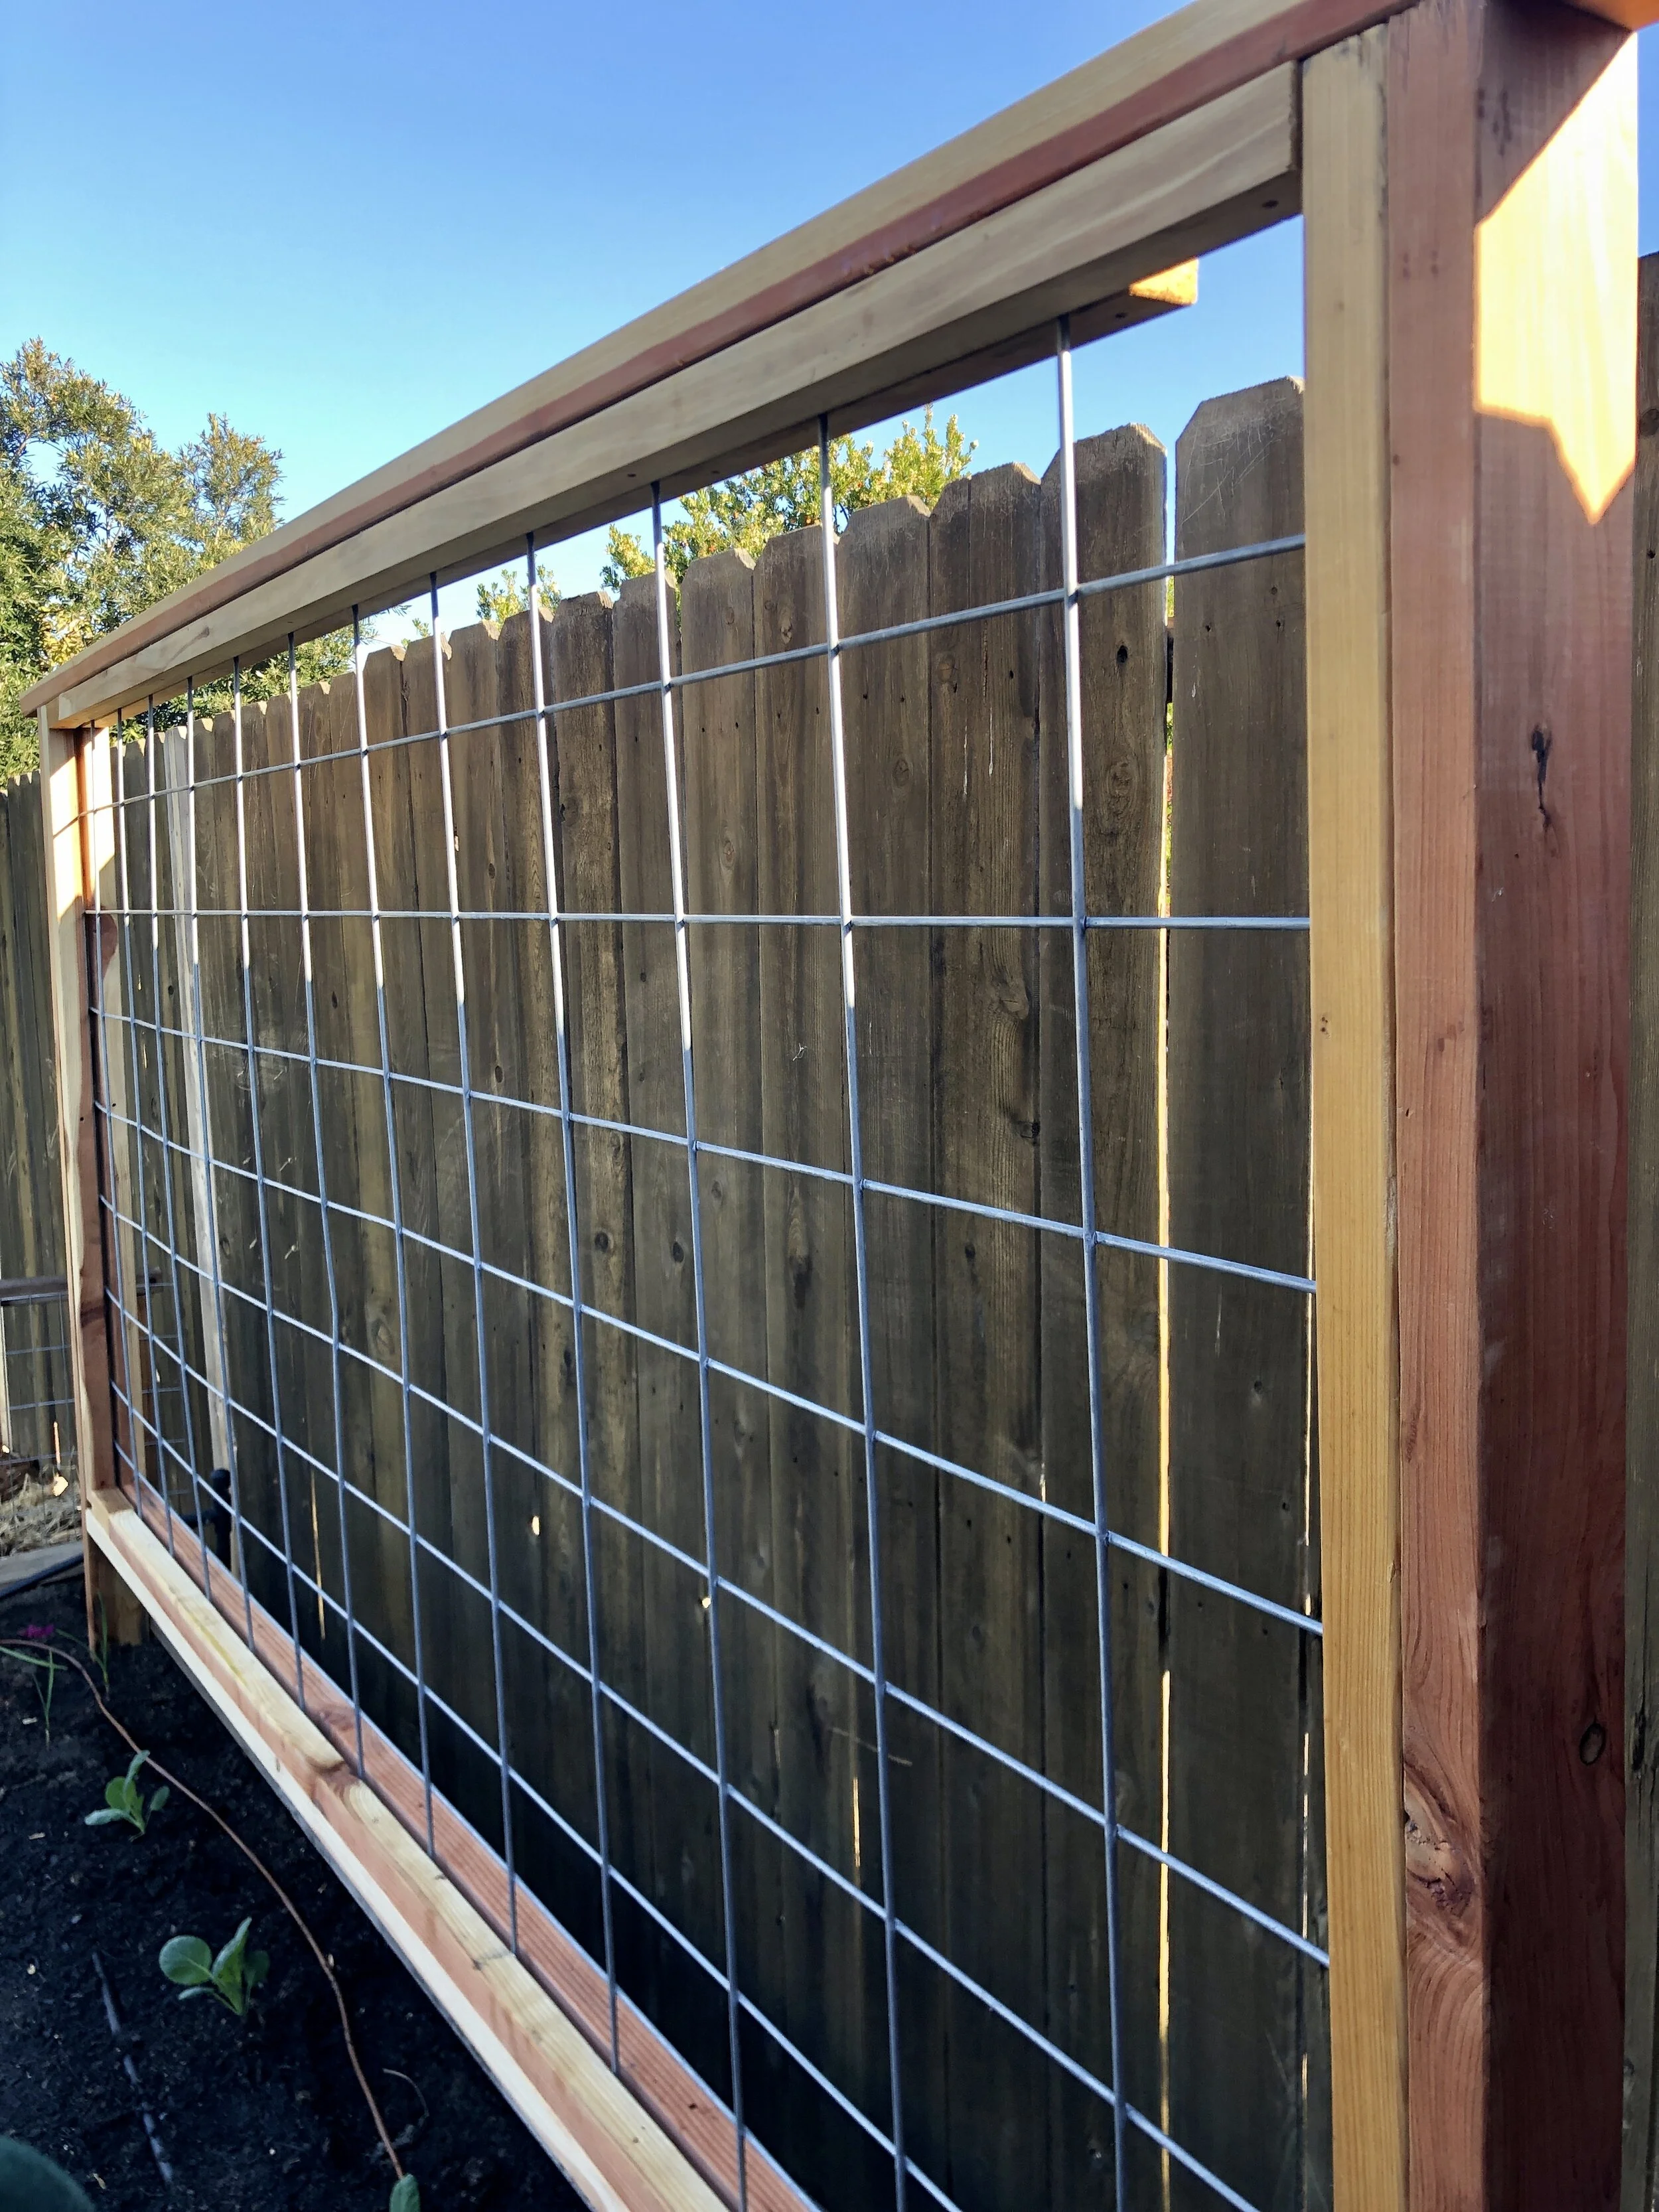
DIY Cattle-Panel Wood-Frame Trellis
The construction for this trellis is made up of three parts: the outer frame, the inner frame and the panel.
The cattle panel can be purchased at any farm supply store (like Tractor Supply) and typically comes in 8’ or 16’ pieces. You can cut these down to your preferred size using an angle grinder or bolt cutters.
The outer frame is made up of standard 2x4s while the inner frame is 2x2s (or in our case, 2x4s that we ripped in half) that create a bracket which cradles the panel and holds it in place.
To build a pergola that is 4x8’ you will need the following tools and materials:
Materials:
2x4s:
x3 8’ boards
x1 10’ board
2x2s: x6 8’ boards
galvanized cattle panel (x1 8’ panel)
screws 2.5” (x36 exterior wood screws)
Tools required:
Tape Measure
Circular Saw
Drill
Shovel/ post-hole shovel (for installation)
Optional tools: chop saw and table saw
6 Steps to Build:

Step One: Cut Materials to Size
If it works for your space, we recommend building a 48” x 96” trellis as there will be limited cutting which, in-turn, will make your life easier. The vertical supports will stay 8’ tall, unless you have really compacted soil that is difficult to get down deep, then you may want to reduce the vertical supports to 6’.
The horizontal outer frame will be made up of one 96’ 2x4 and one 120” 2x4. The inner frame will require some cutting. The horizontal supports will remain 96” and the vertical supports will be cut to 45” [They will rest in between the horizontal framing therefore we need to subtract 3” to account for their width.]
At this time, cut the two bottoms of the 96” boards at a 45 degree angle. This will make installation easier and allow the boards to go into the dirt with less resistance.
Step Two: Dry Fit all Materials
As a general rule of thumb it is always smart to dry fit your materials prior to final assembly just to ensure you have properly cut and sourced all the requisite items.

Step Three: Attach the Inner Frame
Attach the 2x2” inner frame pieces to the 2x4” outer frame. Start with the 96” horizontal supports. Align the outside edges of the inner frame to the outside edges of the outer frame and screw in ever two feet or so. This will leave about a 1/2” gap in between for the cattle panel to be inserted. We recommend using three screws on each side for the verticals and 4 on each side for the horizontals - using 28 total screws.
When attaching the vertical supports, make sure we account for the 1.5” on the top and bottom where the vertical framing will rest on the horizontal framing.
Step Four: Insert the Panel
Now that the framing structure is built it is time to insert the cattle panel. For this step it is helpful to have an extra set of hands. Start with the two sides and top frame and begin inserting the panel between the inner framework. Lastly, insert the bottom frame to encapsulate the paneling.
Step Five: Attach all Four Sides Together
Once a snug fit is obtained, go ahead and screw together the framing. Start with top and end with the bottom and screw two in each side, top and bottom (8 total).
Step Six: Install
Prior to moving the trellis into position, pre-dig your holes using a shovel or post-hole shovel for the vertical framing to be inserted. Ensure that you are able to get deep enough that the gap from the soil to the bottom of the trellis is no more than 12” to ensure plants are able to reach and climb the trellis. If your soil is too compacted, or you are unable to get deep enough, you may have to cut the vertical supports down to less than 96”. To maintain stability and safety, make sure the trellis goes down at least 14-16” into the ground.
And that’s how you build a beautiful, sturdy and functional wood frame cattle panel trellis!
We hope you enjoyed this article and tag us @OurLibertyHouse with your completed trellis! If you have any additional questions comment below or reach out to us on social media.
Happy Building,
Lucas + Beth
If you enjoyed this article you may also enjoy these!
4 Reasons to Install Drip Irrigation